Everyone needs a treat sometimes and these are the perfect ‘sweets’ to hide in the cupboard. I say hide, because if you leave them out they definitely don’t last very long!
I made a batch of these marshmallows recently when my grand-children came to stay and I managed to make them last for the whole week, just letting them have one or two occasionally. They really did go down a treat and both grandad and I loved them as well. They are very simple to make and keep well in an air-tight tin.
INGREDIENTS:
1 ½ tablespoons powdered gelatin
½ cup cold water
½ cup local organic honey
1/8 teaspoon salt
½ teaspoon vanilla extract
Cacao (optional – for dusting)
METHOD:
Line a straight-sided container with parchment paper and then lightly oil the paper. I used an 8” x 8” baking tin.
Put half of the water in a large bowl (or in the bowl of a mixer which has a whisk attachment). Sprinkle over the gelatin and set aside to soften.
Place the honey, salt, remaining water in a small pan over a medium heat. Bring the mixture to a boil until it reaches 240° on a sugar thermometer (soft ball). This took about 5 minutes in my pan. Remove from heat.
Using an electric whisk, or the whisk attachment in your machine, dribble the hot syrup down the side of the bowl whilst whisking. Once everything is combined add the vanilla essence and beat for 12 to 15 minutes until the mixture is really thick and fluffy and looking like marshmallow fluff. Scrape into the prepared tin and leave uncovered for at least four hours, preferably overnight to dry.
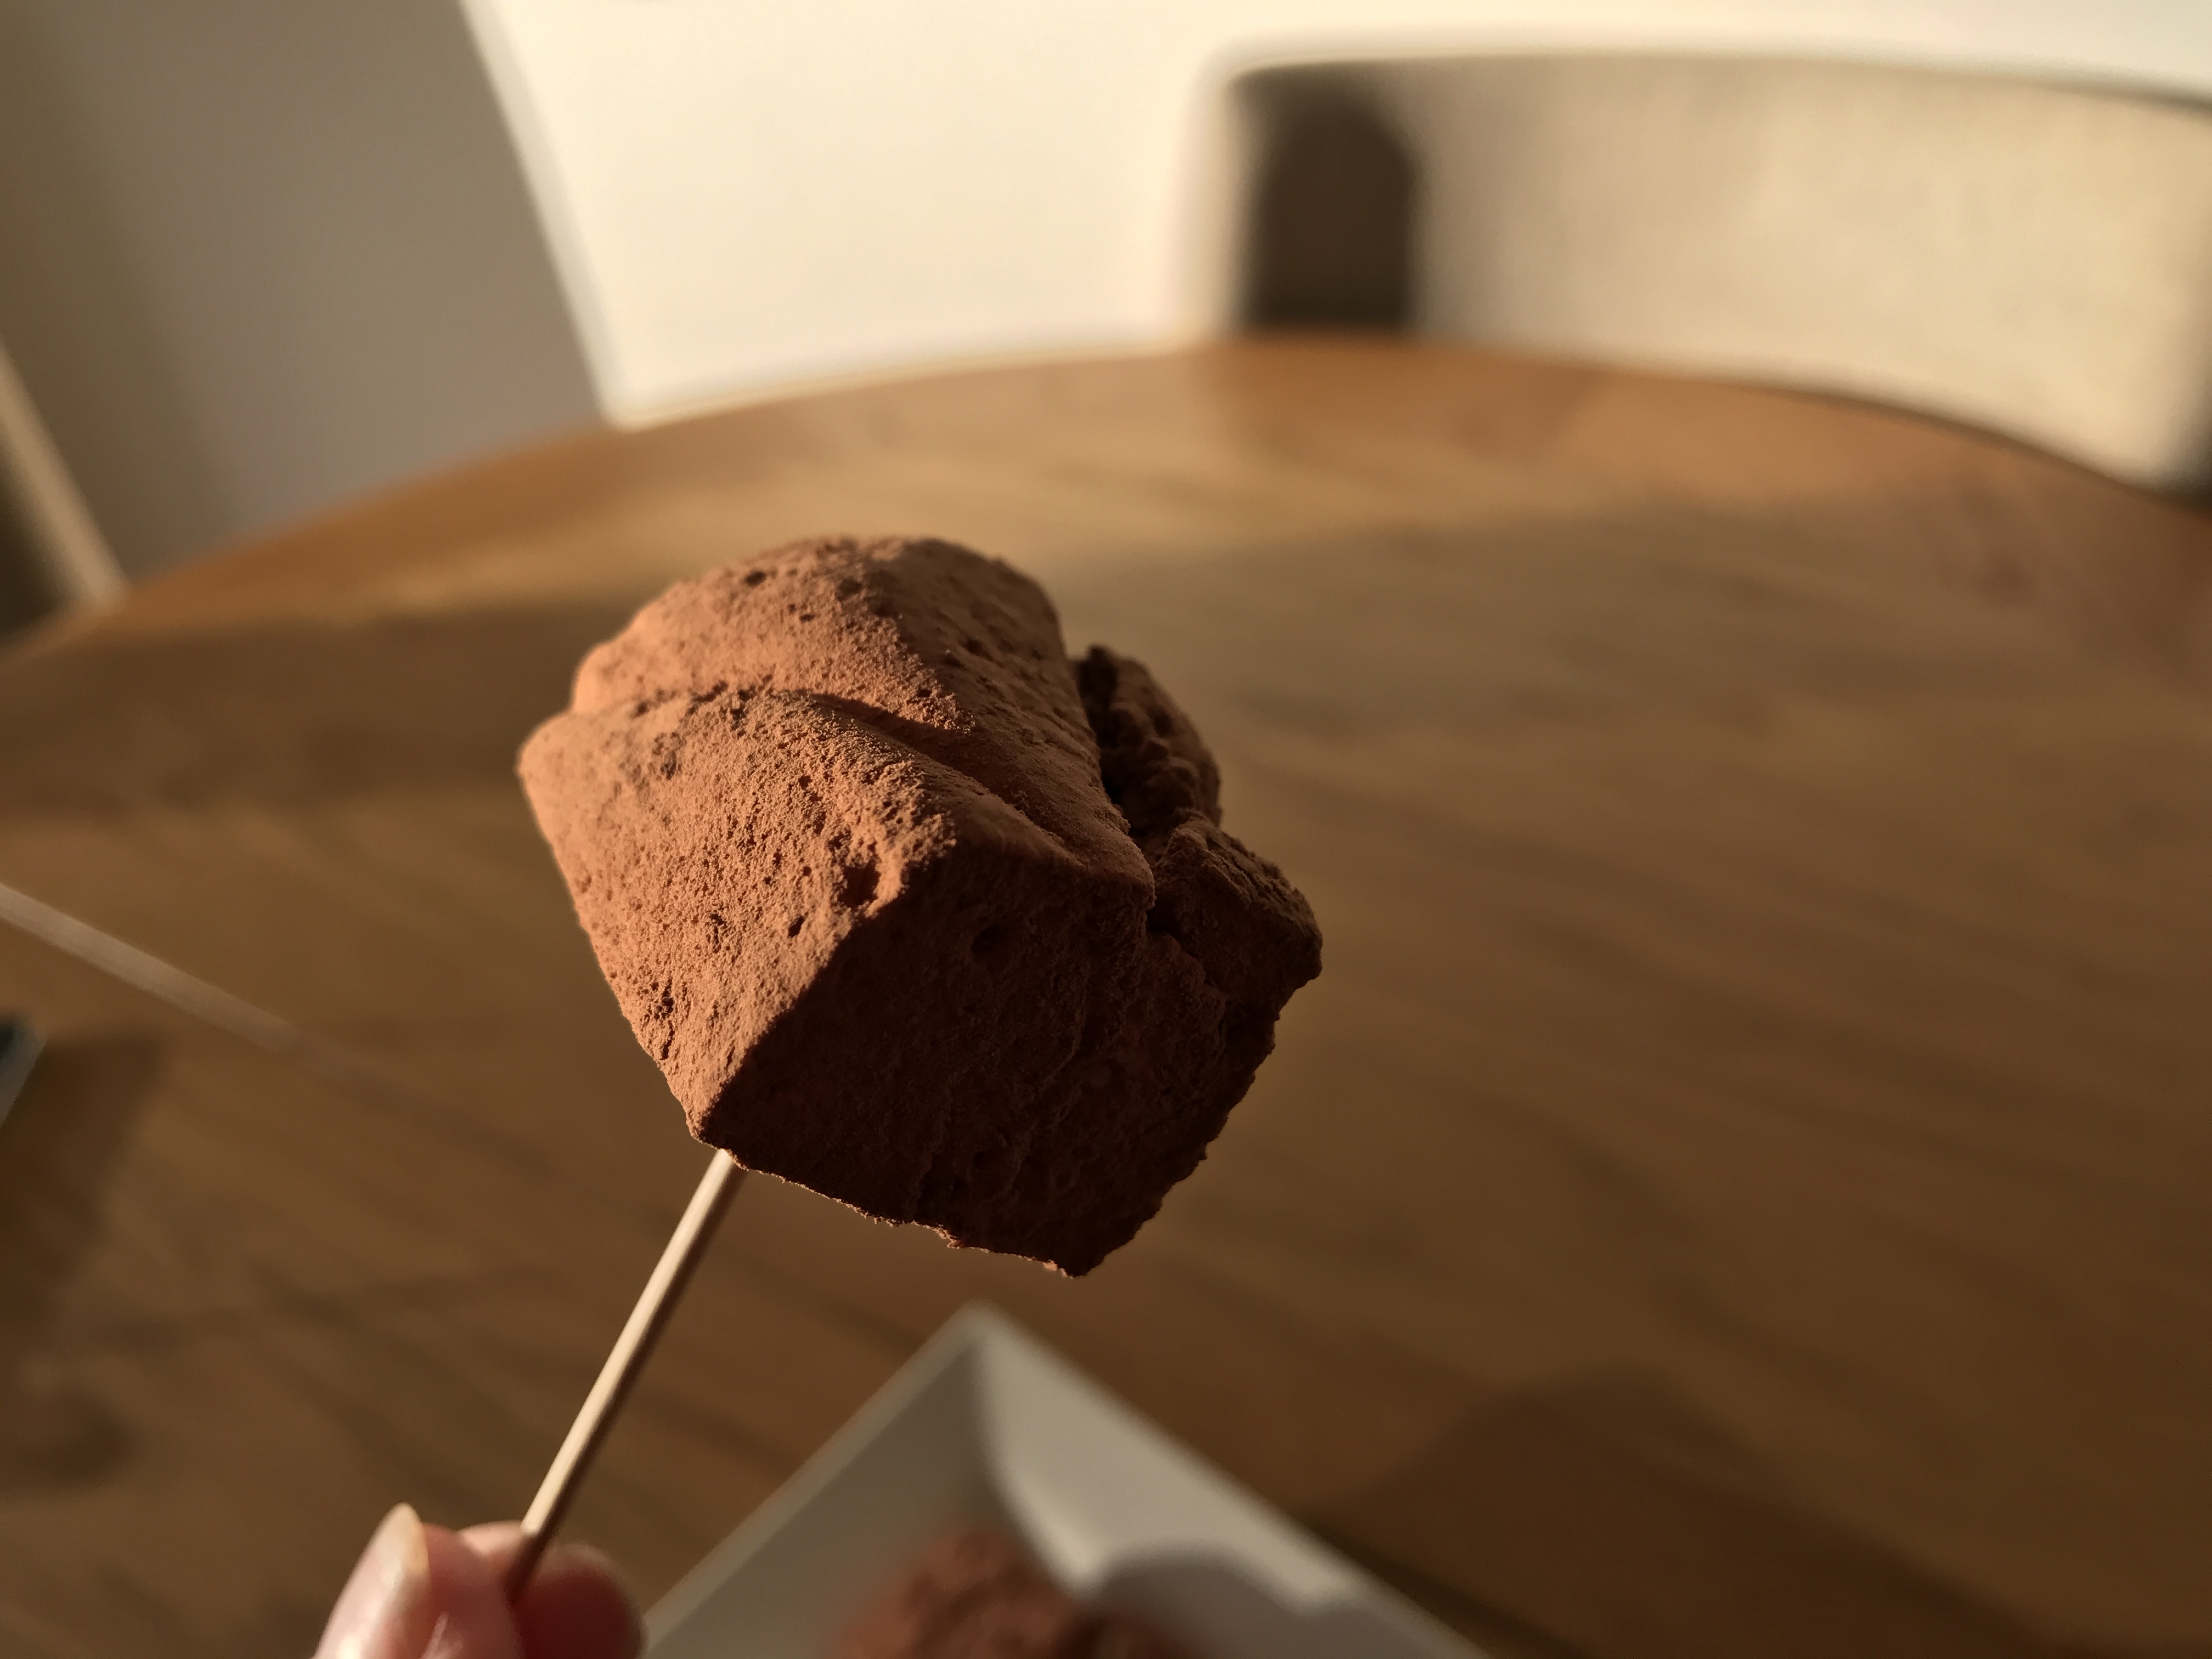
Turn out of the tin and peel off the paper (which comes off surprisingly easily). Cut into shapes. Roll half in unsweetened cacao.
Delicious marshmallows
I have also sprinkled some marshmallows with freeze-dried raspberry powder and wow! Absolutely delicious with the sharpness of the raspberry and the sweetness of the marshmallow.
An alternative coating could be toasted unsweetened shredded coconut.
My favourite – rolled in cacao.
NB: All photographs used in this blog have been taken by me, and are of food I have prepared and served myself.
The original recipe called for ketchup which I don’t use but I have tiny tubs of a tomato sauce in my freezer which I make in bulk from …..you’ve guessed it …tomatoes plus onions, herbs etc. No two batches are ever the same but it’s what we use instead of ketchup and it’s delicious and fresh tasting.
I dry-fried my cashews in a pan on the hob to roast them and probably added far more than 1/2 cup as cashews are one of my favourite nuts and I can never get enough.
INGREDIENTS:
4 boneless skinless chicken breasts
¼ cup plus extra cornflour (gluten-free)
Sea salt and black pepper
¼ cup Extra Virgin Olive Oil or oil of choice
1 teaspoon finely grated fresh ginger
2 cloves garlic, finely grated
½ cup good chicken stock
¼ cup Tamari
2 tablespoons rice vinegar
¼ cup tomato sauce
2 tablespoons sweet chilli sauce
2 teaspoons coconut sugar
½ cup roasted cashews
Bunch spring onions, finely sliced.
METHOD:
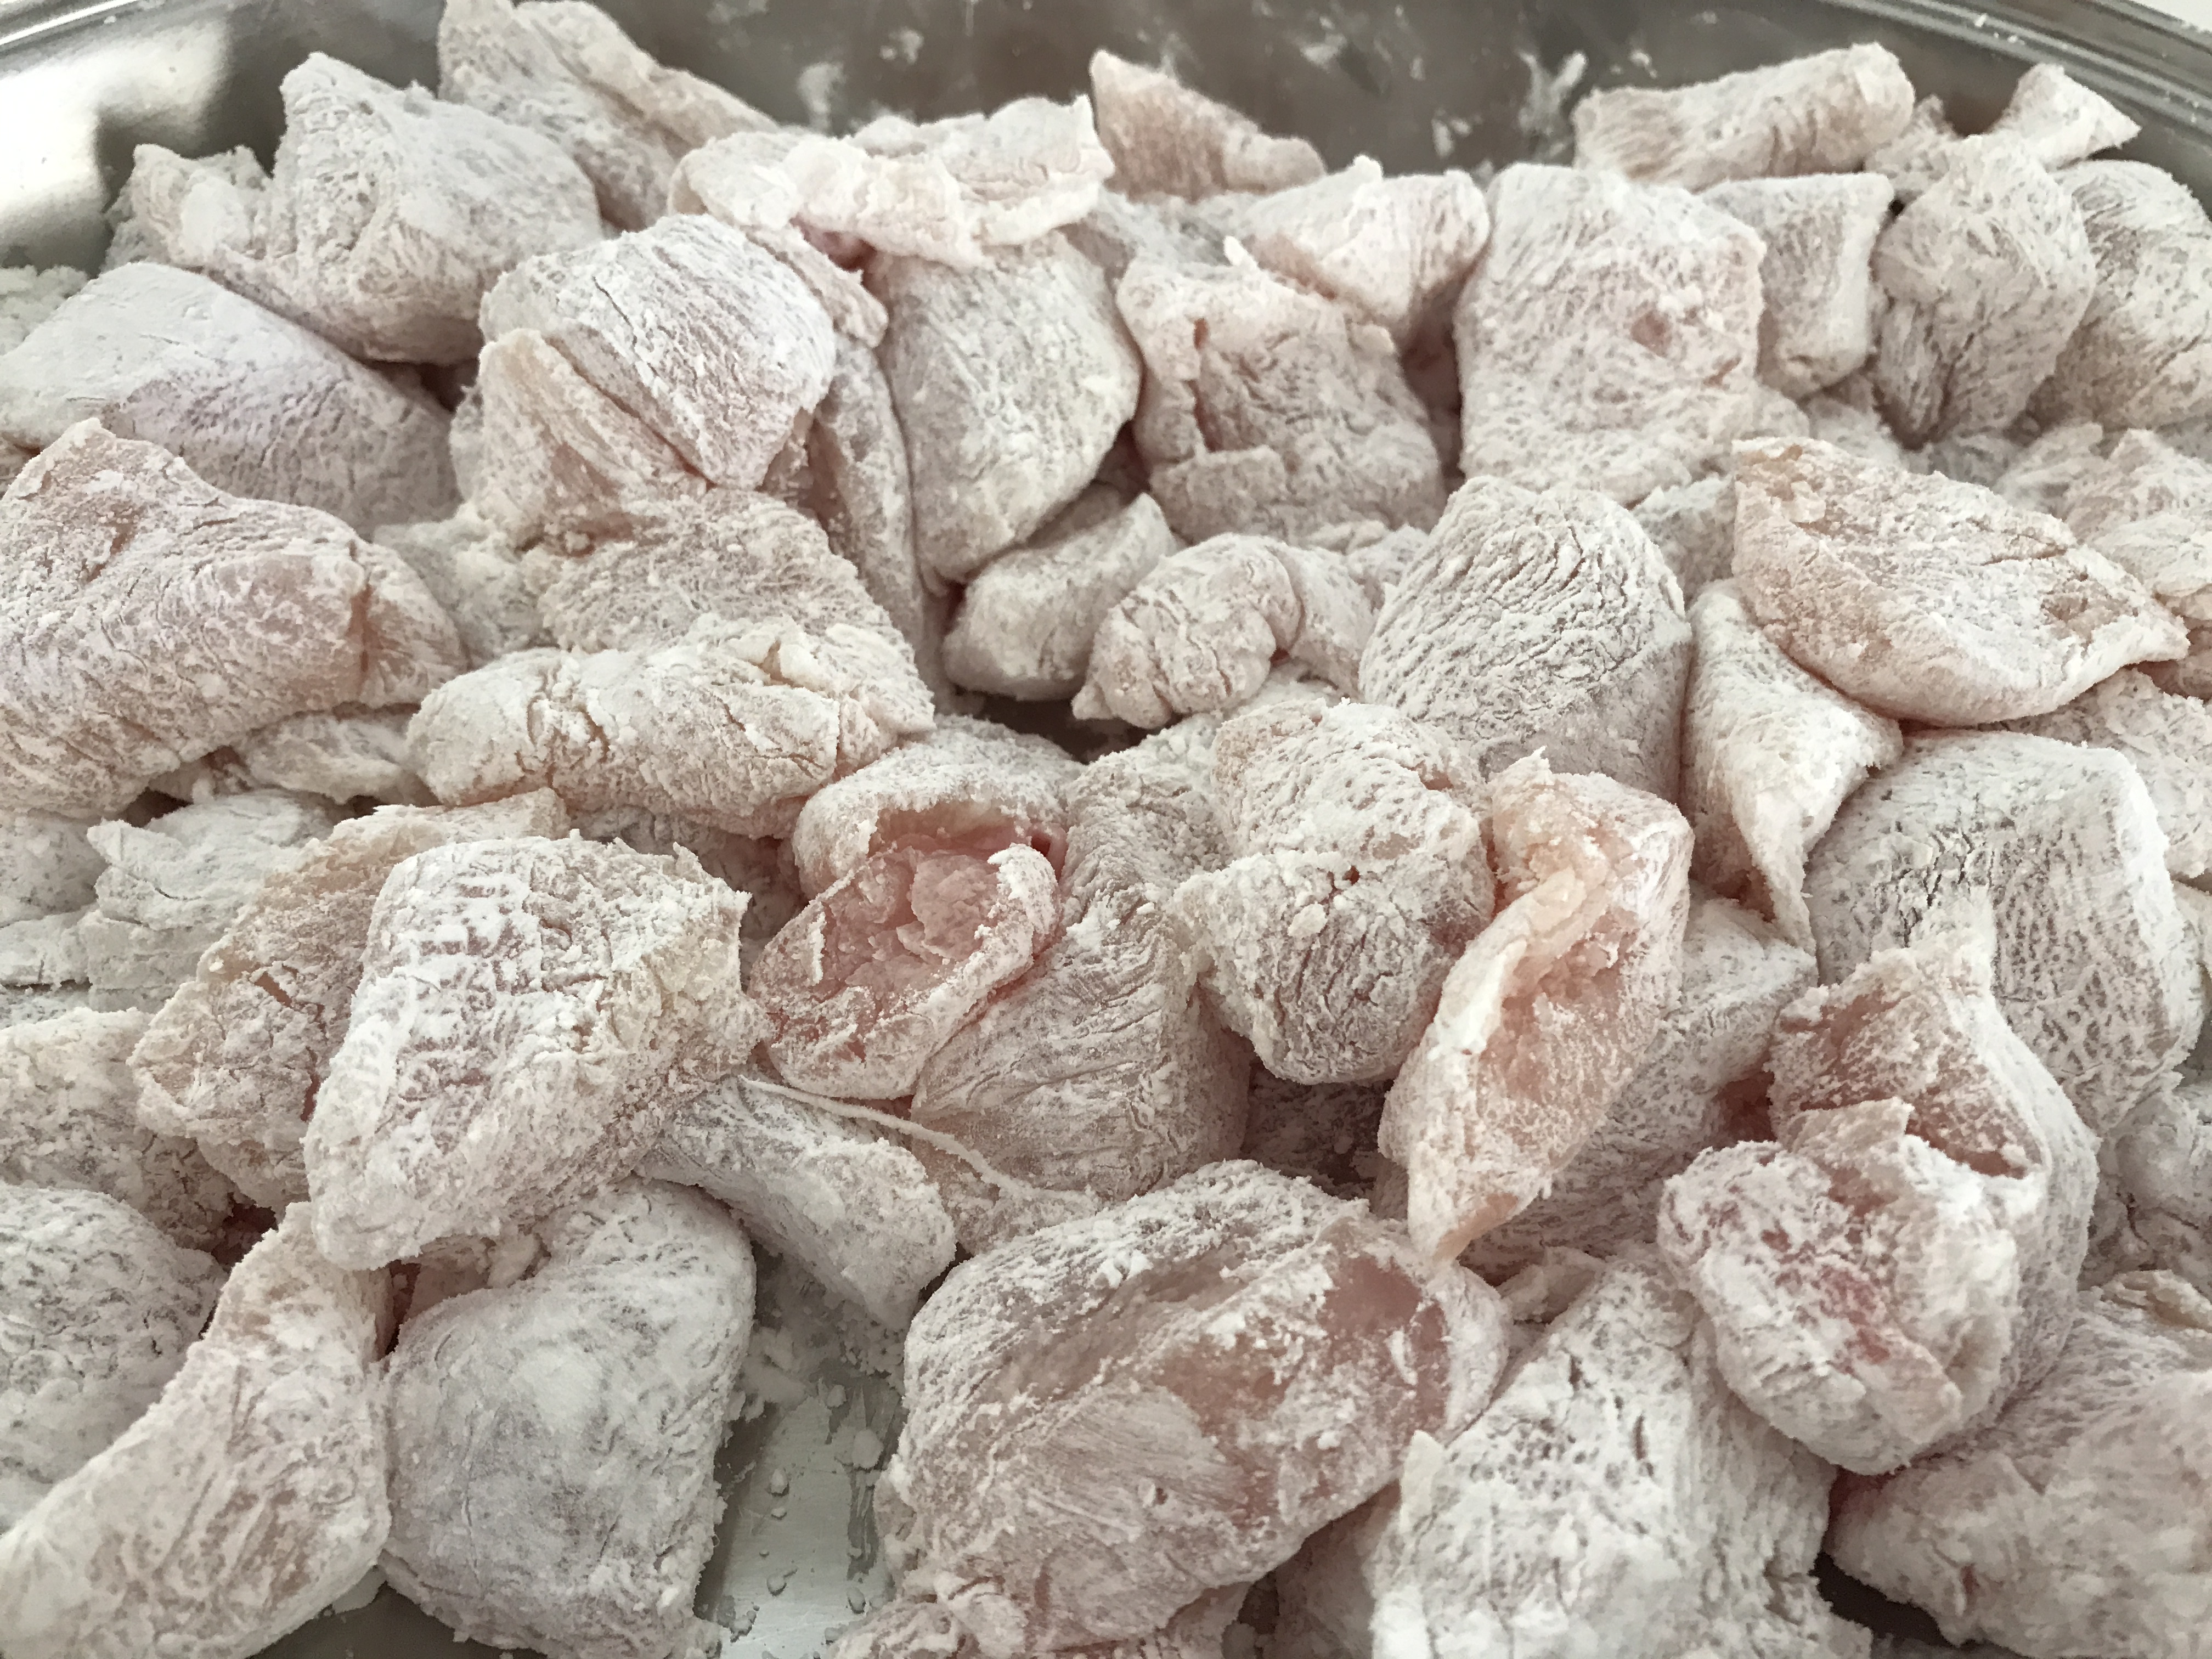
Chicken coated in cornflour and seasonings
Cut the chicken breasts into small pieces (bite-sized) and place in a large bowl with the ¼ cup of cornflour and seasoning to taste.
Toss well to coat the chicken in the flour.
Heat the oil in a large fry pan and cook the chicken in a single layer for 3 to 4 minutes each side until lightly browned and cooked. You will need to do this in two batches unless you have an extra large pan. Put the cooked chicken to one side.
In a bowl or jug, mix together the stock, tamari, vinegar, tomato sauce, chilli sauce and sugar.
Drain excess oil from the pan, leaving about 1 teaspoon. Add the grated garlic, ginger and half of the spring onions. Cook for 30 seconds, stirring well. Pour in the wet ingredients and bring the sauce to a simmer. Mix a couple of teaspoons of cornflour with a little water and add to the sauce to thicken slightly. Cook for a minute. Add the chicken and cashews to the sauce and toss to coat and heat through.
Add chicken and cashews to sauce and ensure piping hot
Serve on a bed of rice, noodles or zoodles and sprinkle with the remaining spring onions.
Sticky Chicken with Roasted Cashews
I served my Sticky Chicken with my Special Fruit and Nut Rice and it was delicious but it would work equally well with plain rice or spiralized vegetables of your choice.
Depending on the size of your chicken breasts, serves 4, or 3 hungry people.
Recipe adapted from Cashew Chicken by Dinner at the Zoo.
NB: All photographs used in the blog have been taken by me, and are of food I have prepared and served myself.
Who doesn’t like having a container of ice-cream in the freezer? Especially if you are a chocolate lover and summer is upon us.
I was amazed at how creamy this ice-cream was but as with many home-made ice-creams, it does need to be taken out of the freezer at least 20 minutes to half-an-hour before using at it freezes ‘hard’.
INGREDIENTS:
2 x 14oz cans coconut cream or full-fat coconut milk, chilled overnight in the fridge.
2/3 cup unsweetened cacao powder
400g dates, stoned
1 teaspoon vanilla extract
½ cup unsweetened almond milk
METHOD:
Place a large mixing bowl in the freezer to chill.
Meanwhile, add moist, pitted dates to a food processor and blend until small bits remain. If your dates are a bit dry, soak for ten minutes in hot water before using.
Slowly add a little hot water until a thick paste is formed.
Without tipping the cans, scoop out the coconut cream, which will have ‘set’ reserving the water for another use. Put the cream into the chilled mixing bowl.
Whip until creamy and smooth.
Add the cacao, vanilla, almond milk and half of the date paste. Whip until fully blended.
Taste and adjust for sweetness by adding the remaining date paste and/or more cacao.
Transfer to a container, cover loosely and freeze.
Freeze for just a couple of hours for a mousse-like ice-cream, or overnight for a firmer one.
Leave to ‘come to’ for at least 20 minutes before scooping into bowls and sprinkling with cacao nibs.
Chocolate Ice-Cream with Cacao Nibs
Unlike many chocolate products, cacao nibs are naturally low in sugar; they are highly nutritious, providing an impressive amount of protein, fibre, healthy fats, minerals, and plant compounds like flavonoids.
Has it really been over a year since we moved into our beautiful new home on the Isle of Wight?
5th March 2018 was the day we finally received the keys and we moved in the following week during what was to be the “Beast from the East”. Rain, snow, hail and cold, cold weather. At least we found our heating worked really well. I was even dared by my daughter-in-law Sarena of Boost and Balance, to strip down to my underwear and roll around in the snow; followed by a hot shower then another roll-around. Yep – I did it and I can honestly tell you that it was so exhilarating and I just glowed afterwards. It was fun too. Even my husband joined in. Thank goodness our garden is extremely private – it’s not called a walled garden for nothing!
I definitely lost my mojo a bit regarding cooking new recipes during our first year in Seaview, even though I was the proud owner of numerous new cookery books (a big thanks to family and friends), a whole drawerful of papers with delicious-looking meals pulled out of magazines or newspaper clippings, plus of course literally dozens and dozens of recipes I’d bookmarked to try from the internet. I did have an excuse though as we had such plans for our lovely new home and with the help of some really fantastic people from plumbers to carpenters, plasterers to painters, roofers, tree surgeons and a real gem of a gardener, our forever home is almost as we want it. I say ‘almost’ because we are having quite a few things done this summer! It’s called our forever home as we hope never to move again. I do remember making some different chutneys at the end of the summer as we had a glut of tomatoes, and I tried them out on our carpenter who was working here at the time. Christmas Day I received a lovely text message from him to say he had made these chutneys and had just opened them and they had aged beautifully.
We were so lucky in finding our gardener – a wonderful Irish chap called Bill who put his head down and worked, and worked and worked until our lovely walled garden was in some semblance of order. He survived on as much coffee as I could make and never seemed to stop working all day. We are blessed with having an original “Walled Garden” which even has the original rings still protruding from the walls for training the fruit trees. Our bungalow is built in the original orchard of the “big” house Fairy Hill and this walled garden is first shown on the 1862 Ordnance Survey and occupies part of the orchard area indicated in 1793. All four of the former kitchen garden walls remain, with the western and southern walls forming the road boundary to the plot. The 2.4m high northern wall, in stretcher bond brickwork retains traces of white paint in the location of where a glasshouse once stood. The three other walls are in random coursed stone rubble with rounded stone coping and about 2.1m in height. What a story these walls must hide!
Part of our Walled Garden with the new trees
Our garden is laid mainly to lawn with some raised beds where I grow my herbs. The urge to recreate an orchard kept growing in our heads and we visited a specialist fruit tree nursery in the centre of the Island where we met an amazing chap who explained how we could train a variety of fruit trees up our walls using the existing hooks. Such an exciting time deciding what to plant and where, and we ended up choosing a number of apple trees (eaters and cookers), three different plums and two apricots to train up one long wall. We also have two standard pear trees and an amazing peach tree which delivered six of the most delicious peaches I have ever tasted in it’s first year with us. A cherry tree was already here and I must remember to net it this summer as the birds beat me to the fruit last year. I’ve also planted three goji berry bushes, two kiwi plants (male and female), a fig tree and we have two bushes – either blackcurrant or redcurrant. They were a gift from our friendly plumber but he couldn’t remember which they were. It will be interesting to see the fruit. Also here was a delicious blackberry trained up part of a wall – the tastiest blackberries ever but covered in the most awful spines which seem to catch me every time I either prune it or harvest the fruit.
Last year was a nightmare as we had so little rain (the same is happening this year). With all our trees being so newly planted, we were forever watering them to keep them alive. Again, this year, we have had so little rain that at the time of writing this (early June 2019) our water-butts are completely empty and the ground rock hard. I have even taken to emptying our bathwater into the rainwater butts to recycle the water.
The Isle of Wight is only about 2 miles off the southern coast of mainland England but it seems to have its own little climate and many plants flourish here much better than on the big Island. I am really looking forward to picking our own fruit and turning some of it into delicious new recipes.
With so much going on in our new home and garden, I have tried out very few new recipes let alone written them up for my blog. What I have cooked is the most tasty, delicious Isle of Wight leg of lamb – not cheap but wow, it was worth every penny. I have never tasted lamb like it. At Christmas I decided to be a bit different and instead of a turkey (which I love) I treated my family on Christmas Day to an evening meal of Isle of Wight food: lobster, dressed crab and shell-on prawns all caught locally. Christmas Day lunch went down a treat as I decided to do an American Charcuterie Board which looked spectacular, was easy to get ready and there wasn’t much left over – a sure sign it was enjoyed. I served it with my homemade Seed Crackers.
American Charcuterie Board
We don’t eat Charcuterie very often so it becomes a special treat when we have it perhaps once a year.
I didn’t lose out on my turkey as for Christmas Eve I made my favourite Turkey Bobotie – I made a huge one hoping to freeze down a couple of left-over portions for using up later but the family got in first and devoured the lot! A cranberry and orange glazed ham saw us through Boxing Day with plenty left over. I did try out a couple of new desserts but have still not written up the recipes. They are on my “to-do” list.
One of my Christmas desserts
January and February this year saw quite an upheaval with my kitchen missing for 7 weeks, but since having my lovely new kitchen installed and settling back home after a rather pleasant holiday in Miami Beach (a treat for my 70th birthday) I am finding my feet again with new recipes. Let’s hope my mojo is coming back to stay!!
I am amazed that at 70 years of age (I don’t feel 70) I still get excited to find new recipes and you will often find me in the kitchen happily cooking tried and trusted ones as a relaxing hobby, or puzzling over a new one as I tend to change ingredients a bit here and a bit there. At the time of writing I have a recipe for Banana Balls sitting in my kitchen which I am dying to try out. Along with banana, avocado, cheese, chives and tapioca and rice flours, these balls once cooked come with a minty yoghurt dipping sauce. My mouth waters just thinking about them.
I have recently joined a group called Island Apron – people on the Island who love cooking and sharing recipes, hints etc. I have been out to a lunch with some of them and when a fun competion occurred recently I entered. The competition asked us to post a picture of a meal we had just cooked and I had just made my favourite Scotch Eggs (gluten free for my husband of course). Unbelievably I won the competition with the most votes and received a lovely little prize.
I prefer my yolks fully cooked but some like them still runny.
I also belong to two other groups on the Island – The Newbies (people who have recently moved over to the Island, or within the last few years) and The Overners (people who have moved over here or want to move over here). There is always a coffee morning, lunch or afternoon meeting going on and I have made many lovely friends through these groups. When my big ‘70th’ loomed in May and my family couldn’t get over until the weekend, I invited The Newbies to a “Slice of Cake and a Glass of Bubbly” at a local garden centre on the day.
Not something we have often but made especially for my friends by the chef at the garden centre.
Firstly I cannot praise the garden centre enough as they made the afternoon absolutely wonderful, sectioning off the best bit of the restaurant for us and the chef cooked some delicious fresh cream and strawberry cakes and there was plenty of bubbly on the tables. I felt very honoured to have more than 40 Newbie friends turn up to share my birthday with me, and I believe everyone really enjoyed themselves. The chef even made some fresh cream gluten-free cakes for my husband who was overjoyed.
I hope over the next weeks, months, years to be sharing many delicious and tasty recipes with you all. I would like to thank all the wonderful people who follow my blog and it never fails to amaze me when I look on the WordPress statistics to see where you all come from – thousands of people from all corners of the earth. I still get a thrill when I receive a message from WordPress saying that there is unusual activity on my account. On taking a look I see that for some strange reason, a couple of my recipes are taking Japan by storm, or another one is suddenly going viral in Bangkok, or perhaps an age-old recipe is being viewed hundreds of times in Spain. The internet is a marvellous thing. Thank you to those of you who write to me, send me recipes or just leave a small comment on my blog. I appreciate every one of you.
I also need to thank my lovely daughter-in-law Sarena of Boost and Balance for showing me a healthier way to start living. Over the years I have watched with interest her progress on becoming a Holistic Naturopathic Nutrition Therapist and I have nothing but admiration and praise for her for the work put in to qualify for her degree. Her blog is well worth a good read and I know she is available for any help or questions.
I used ideas from two recipes to make my Cream Pie. The pie crust and idea came from the original recipe of Vanilla Cream Pie with Fresh Figs from Eleanor Ozich but I made a richer filling similar to the White Chocolate Tart by Catherine Bachelor.
This pie was absolutely delicious although I could have sliced my figs a bit finer but they were very ripe and a bit squishy. Deliciously rich, so this pie could serve 8 people. I really enjoyed the almond crust which could be used with a variety of fillings.
INGREDIENTS:
Pie crust:
2 ½ cups ground almonds
3 heaped tablespoons coconut oil or butter (melted)
2 tablespoons honey or maple syrup
1 tablespoon water
Filling:
2 cups mascarpone cheese (I used 2 x 250g tubs)
¼ cup double cream
¼ cup melted white chocolate
2 teaspoons vanilla extract
Topping:
Fresh figs, peeled and finely sliced
Glaze:
2 tablespoons honey, warmed
Mix the ground almonds, coconut oil/butter, honey and water in a large bowl until thoroughly combined. Grease an 8” to 9” flan ring and press dough evenly over the bottom and sides.
Bake at 180°C for 12 to 15 minutes until light brown. Leave to cool completely.
Beat the mascarpone cheese, double cream, melted chocolate and vanilla essence together and pour into the pie crust, smoothing the top. Chill.
Decorate the top of the pie with thinly sliced fresh figs and brush with the warmed honey.
Keep in fridge until ready to serve.
Fresh Fig and Vanilla Cream Pie with Almond Crust
NB: All photographs used in this blog have been taken by me, and are of food I have prepared and served myself.
Dukkah is an Egyptian spice mix which I hadn’t used before but it sounded very interesting and I was eager to taste it. Made from a mix of roasted hazelnuts, sesame seeds, coriander seeds, cumin seeds, seasalt, thyme and black peppercorns I bought a packet of ready-made mix but there seems to be various recipes around to make your own and the exact ingredients vary from family to family.
We eat a load of sweet potatoes as they are so delicious and I tend to leave the skin on for roasting, after scrubbing it well. If you prefer, they can of course be peeled.
This dish was really delicious served with a helping of my Colourful Slaw which turns out different each time I make it, depending on what ingredients I add. So handy to have a bowlful in the fridge and it keeps for a few days and goes with so many meals.
When I have a few minutes to spare, I tend to buy two or three loaves of GF bread, turn it into breadcrumbs and pop bagfulls in the freezer. I find it freezes really well and takes very little time to thaw.
INGREDIENTS: serves 4
Fish:
100g gluten-free breadcrumbs
2 tablespoons Dukkah
750g skinless white fish fillets (I used cod)
2 eggs beaten with a little olive oil
Chips:
2 to 4 sweet potatoes, depending on size
1 tablespoon virgin olive oil or oil of choice
Scrub the sweet potatoes and cut into bite sized wedges. Pop into a bowl and sprinkle over a tablespoon of olive oil and shake well to coat.
Tip the potatoes onto a non-stick baking sheet and pop into the oven at 200°C Gas 6 for thirty to forty minutes, or until soft inside but nice and crispy on the edges. Turn half-way through cooking.
Meanwhile pop the breadcrumbs with the Dukkah into a bowl and mix together. Have the egg mixture in another bowl.
Cut the fish into bite-sized wedges and dip firstly into the egg mix and then into the breadcrumbs, placing them on a lined baking sheet.
Put fish in the oven for 15-20 minutes (halfway through cooking the potatoes) and carefully turn them once. The fish needs to be ‘just’ cooked and still moist.
Serve the “fish and chips” with a helping of colourful coleslaw and lemon wedges.
Healthy Fish and Chips served with Colourful Coleslaw
Recipe adapted from the magazine Healthy Food Guide.
NB: All photographs used in this blog have been taken by me, and are of food I have prepared and served myself.
For anyone following a dairy-free, grain-free, gluten-free, sugar-free diet these lovely Keto ‘Cheddar’ Drop Biscuits from Healthful Pursuit are absolutely delicious and extremely tasty as well as being low-carb. Cheesy, with a slight ‘hit’ from the mustard powder, it was very difficult to try just one! They are a little bit addictive….
I decided to use coconut oil in my first batch of biscuits and I didn’t use jalapenos, simply as I didn’t have any in the cupboard. Very quick to mix up and only 15 minutes to bake, these super little biscuits will soon be a firm favourite in our home. Next time I will try with jalapenos but they are just as delicious without.
My batch made 18 biscuits.
INGREDIENTS:
¼ cup melted coconut oil*
4 eggs
2 teaspoons apple cider vinegar
1 ½ cups roughly ground almond flour
½ teaspoon gluten-free baking powder
½ teaspoon onion powder
¼ teaspoon sea salt
¾ cup nutritional yeast**
2 teaspoons gluten-free mustard powder
2 tablespoons chopped jalapenos, optional
METHOD:
Preheat the oven to 400°F and line a baking sheet with parchment paper.
In a large bowl whisk together the melted coconut oil, eggs and vinegar.
In another bowl, mix together the almond flour, baking powder, onion powder and salt.
Add the dry ingredients to the wet and stir thoroughly.
Add the nutritional yeast and jalapenos (if using).
Drop dessertspoonfuls on to the baking sheet and using your fingers, shape lightly into a biscuit.
Bake for about 15 minutes or until golden.
Remove from the oven and allow to cool on the baking sheet.
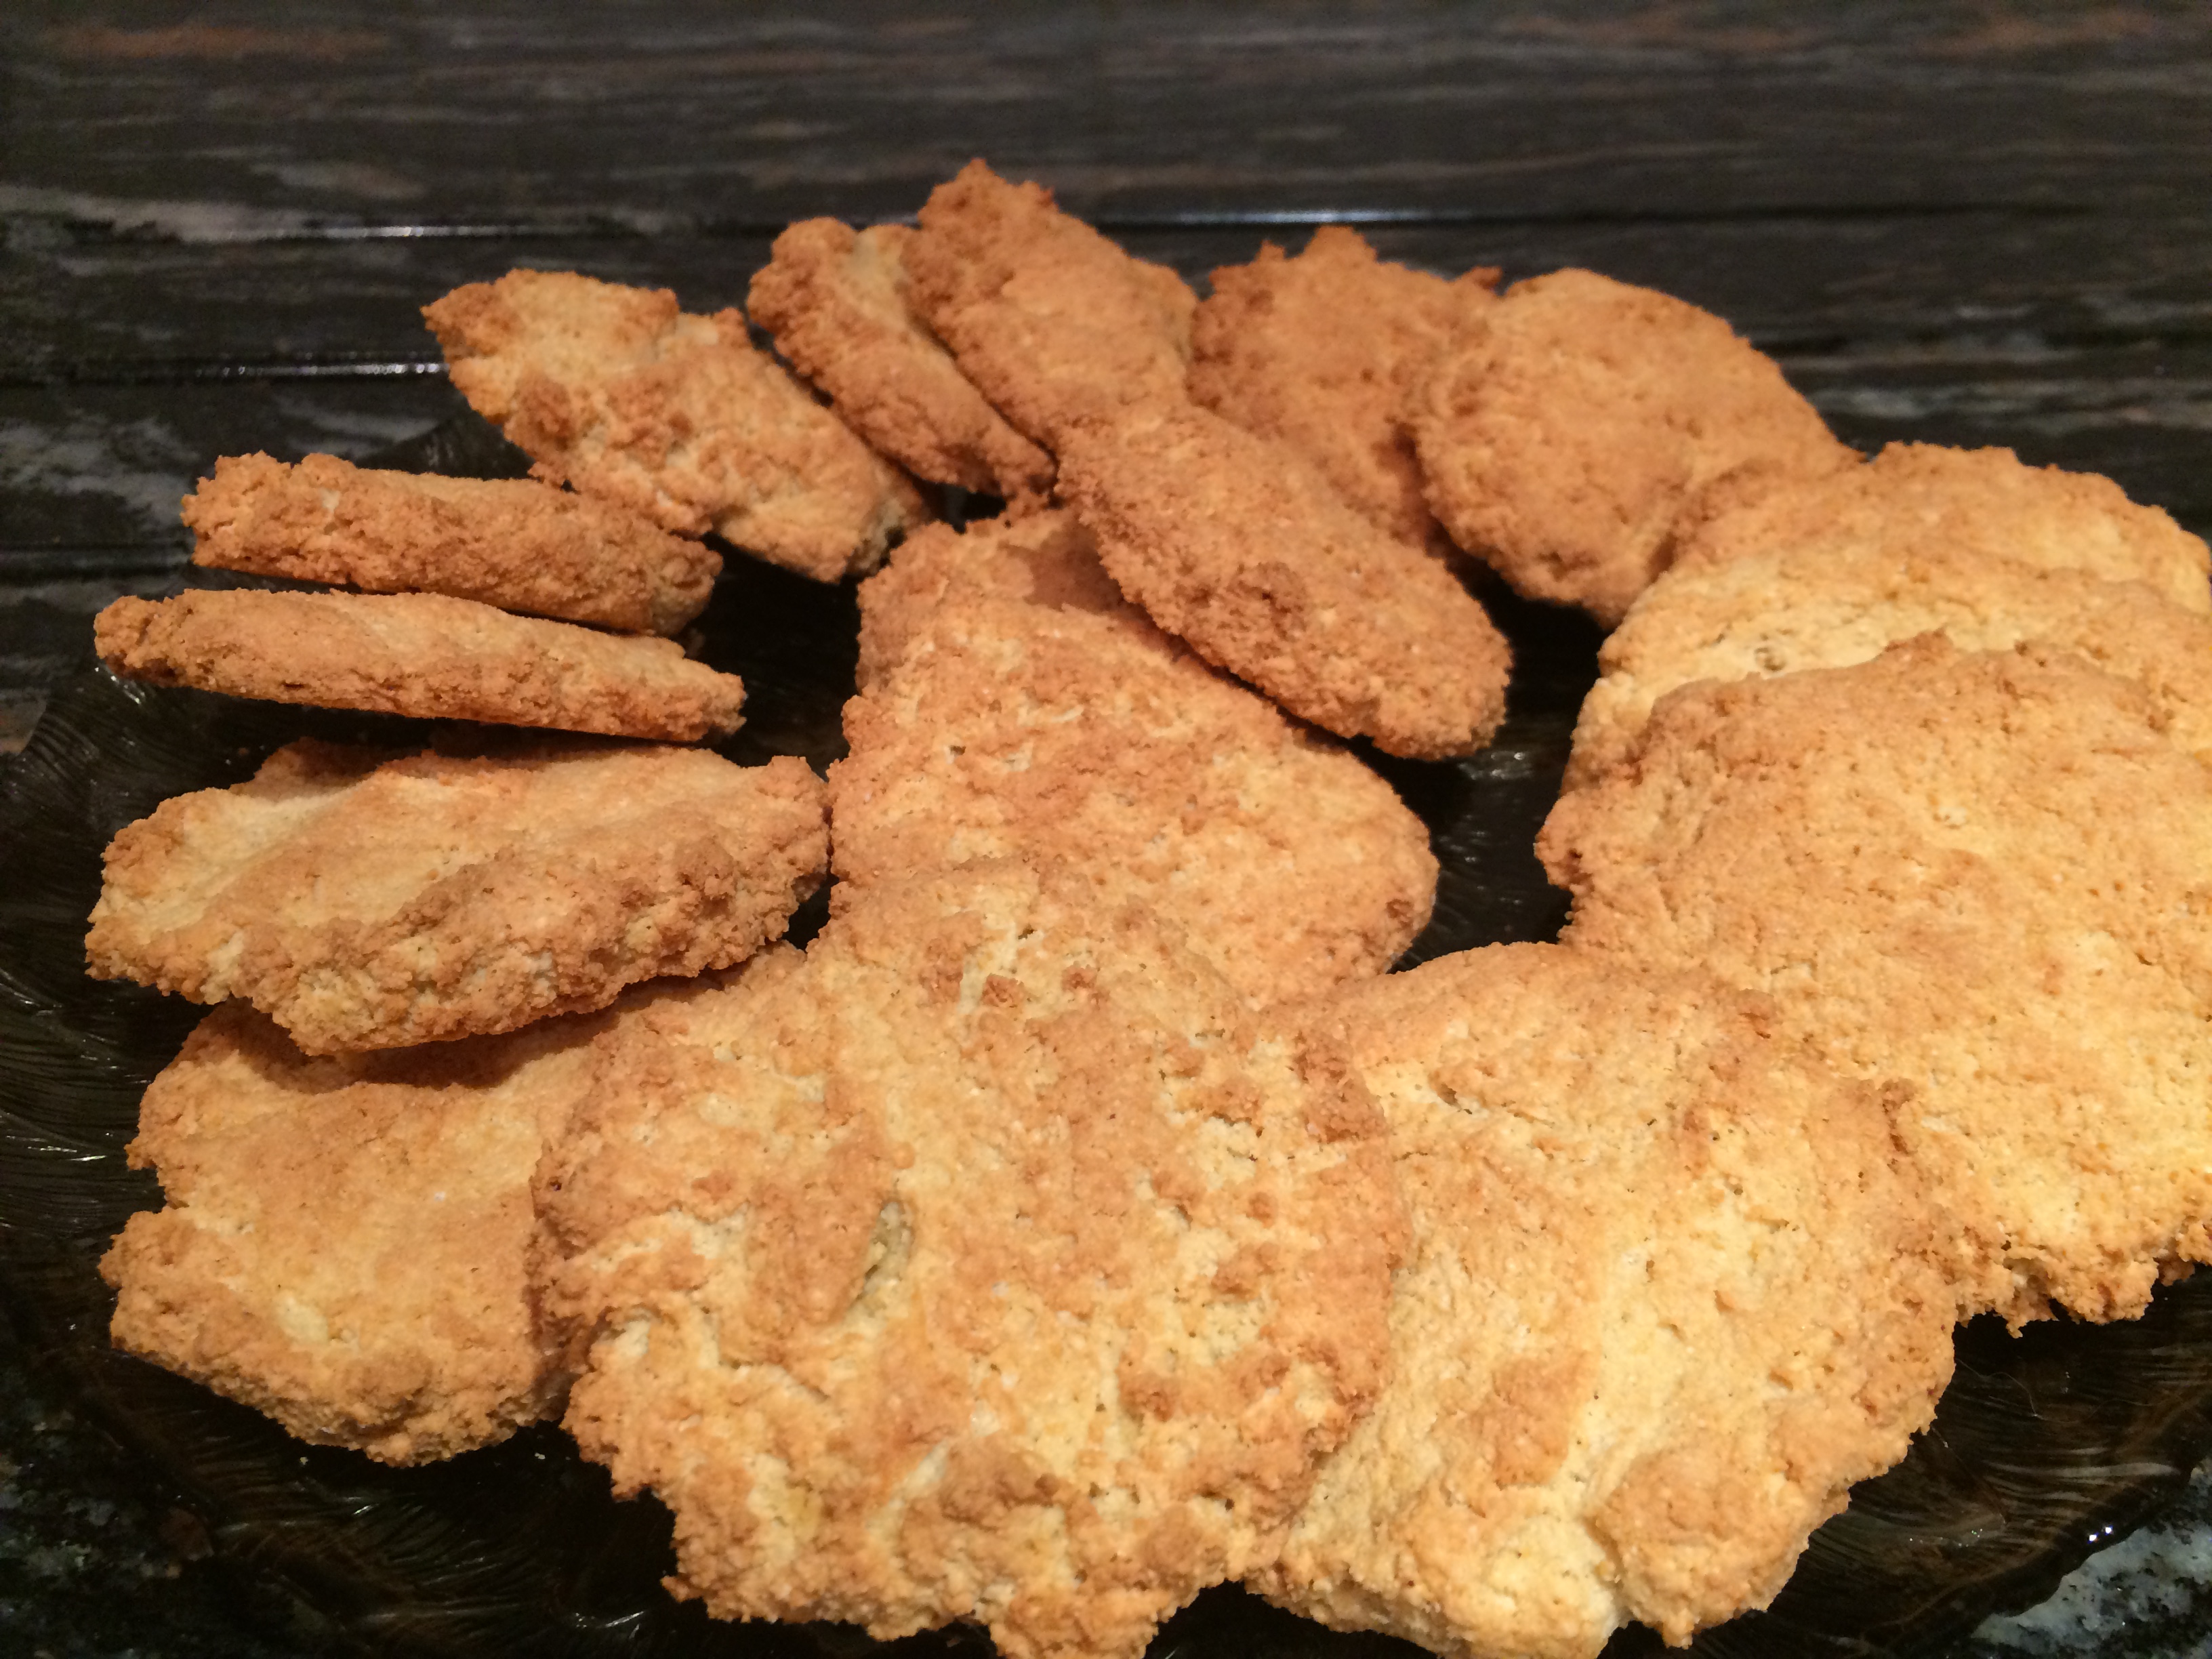
‘Cheddar’ Drop Biscuits
Store in an airtight container in the fridge for 3 days, or in the freezer for up to 2 months.
Notes:
*Original recipe used tallow. You could use a liquid oil such as avocado or olive but it is suggested that you then bake these in silicone muffin cases.
**Original recipe used Daiya dairy-free cheddar cheese
NB: All photographs used in this blog have been taken by me, and are of food I have prepared and served myself.
I love trying new recipes and this one was no exception. I had a beautiful huge cauliflower in the kitchen just begging to be sliced into steaks and I also had some Medjool dates in the cupboard which were starting to dry a little so needed to be used pronto. All the other ingredients were either in my fridge or store cupboard so it was a good meal to make.
I doubled the quantity of relish to use up my dates but we managed to eat it all as it was so very tasty. I blitzed the onion and dates in a Nutribullet for ease and then stirred in the lemon juice.
Almond Buttermilk:
1 cup unsweetened almond milk
1 tablespoon lemon juice
Coating:
1 ½ sea salt plus extra to season cauliflower
¼ teaspoon cayenne pepper
¾ teaspoon garlic powder
1 ½ teaspoon curry powder (I used a medium curry powder)
1 ½ teaspoons smoked paprika
3 tablespoons arrowroot or cornflour
1 – 2 tablespoons avocado oil, or oil of choice
Lemony Date Relish:
3 Pitted medjool dates
1 tablespoon finely chopped onion
2 tablespoons lemon juice
METHOD:
Line a couple of large baking sheets with parchment paper.
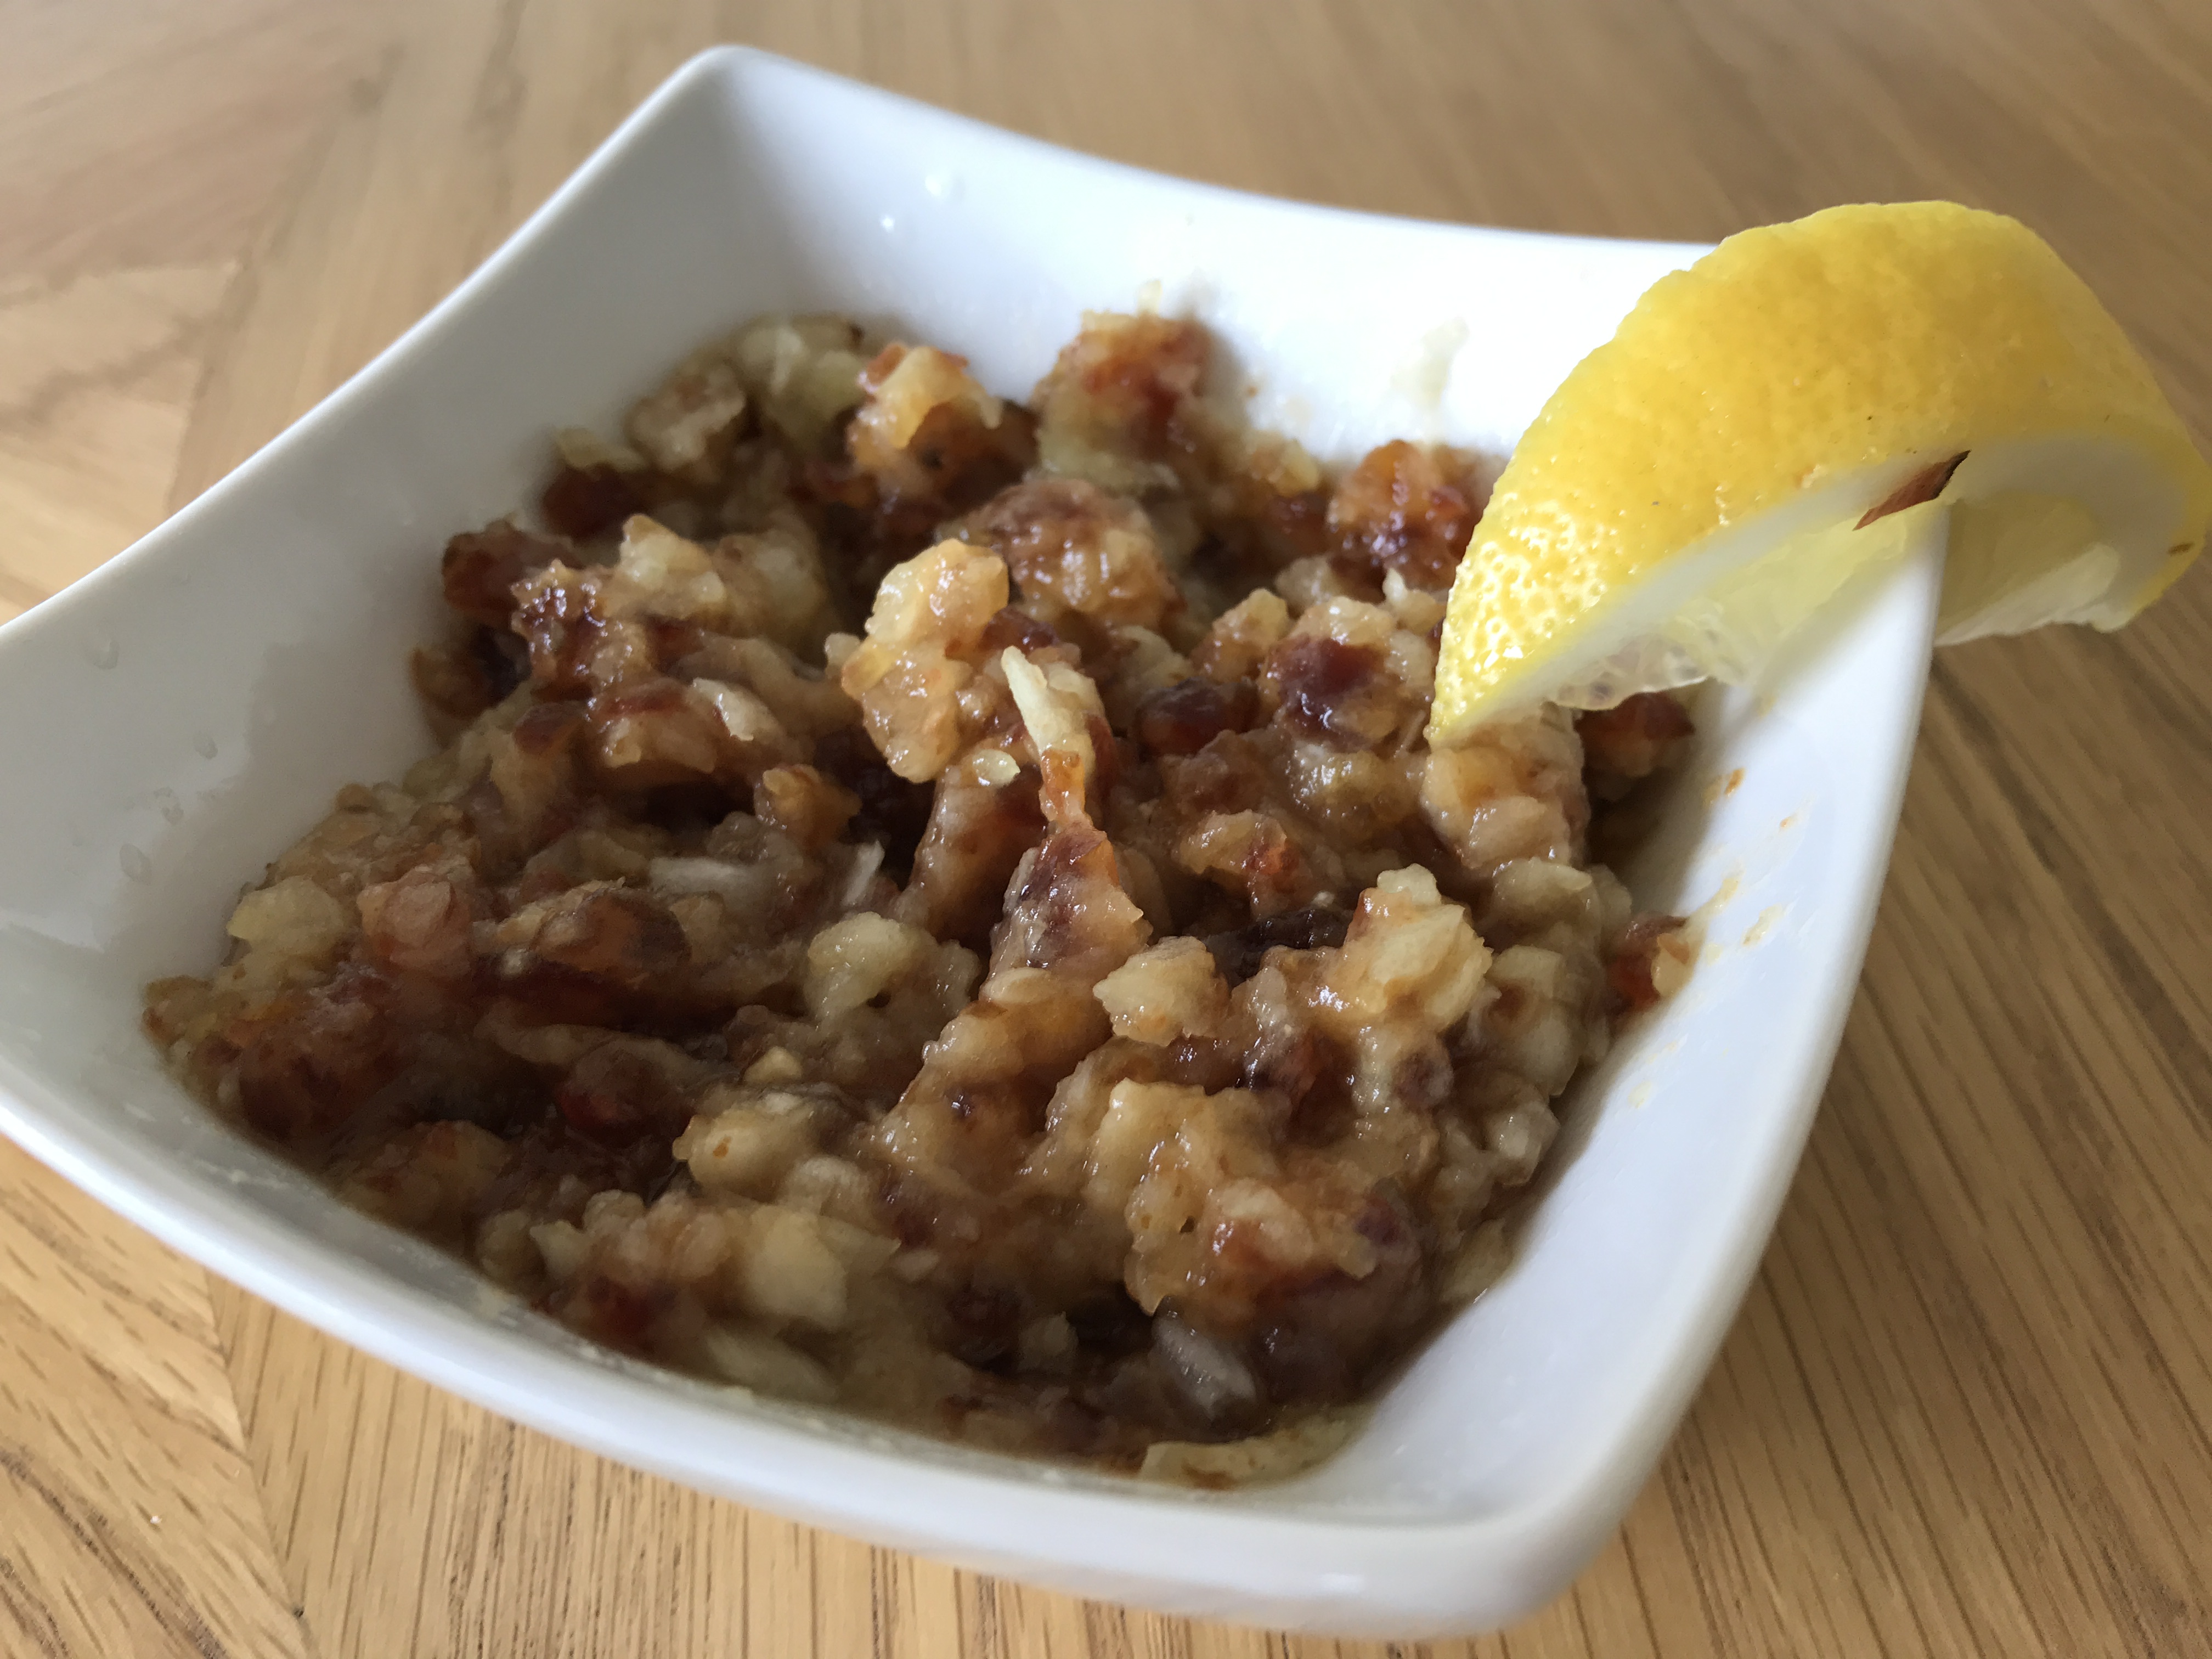
Make the relish by either finely chopping the onion and dates or blitzing them briefly in a Nutribullet or similar. Mix with the lemon juice and set aside.
Date and Lemon Relish
Trim the leaves and stem off the cauliflower but be careful not to remove the centre of the stem. Place the cauliflower stem side down and carefully cut thick steaks. The ends tend to crumble but the centre of the cauliflower should yield three to four steaks which hold together. The ends are just as nice in small pieces so don’t throw away.
Steam the cauliflower for just 4 minutes to start the cooking process and ensure the steaks are tender. Remove from the steamer and allow to cool slightly. Don’t oversteam as they will fall apart!
Meanwhile, make the buttermilk in a shallow dish (large enough to hold a cauliflower steak) by mixing the almond milk with the lemon juice.
Make the crust by putting all the ingredients into a food processor or Nutribullet and blitz until semi-fine. It’s nice to have a bit of texture so not too powdery. Put this crust mix into another shallow dish. It looks a lot but I used every bit in coating my cauliflower.
Dip the steamed cauliflower into the buttermilk making sure it is fully “wetted” and pop the steaks on a plate and season with sea salt.
Take each steak and lay in the crust mix, coating both top and bottom thoroughly. Place on the prepared baking sheets and drizzle with a little avocado oil.
Bake for approximately 30 minutes at 425°F (218°C) until golden brown and crispy, turning over half-way through cooking. Make sure they are tender by inserting a sharp knife or cocktail stick into the stem and it should feel soft.
Serve with the lemony date relish and a side salad.
Cashew Coated Cauliflower Steak with a side salad
NB: All photographs used in this blog have been taken by me, and are of food I have prepared and served myself.
One thing I have found, living on a small Island is that there are loads of groups around and one I really like is Island Apron. As the name suggests, it is concerning cooking and the other day someone made Paneer – a recipe I have been meaning to try for ages. It was the kick I needed and I popped to the local shop for some organic milk to try it out.
A fresh cheese commonly used in Indian cuisine, Paneer is a great cheese to fry and use in various dishes. I found it extremely easy to make and decided to use my first batch making a tasty dish called Matar Paneer which is delicious served with rice or naan bread. This recipe serves 2 or can be used as a side dish for another meal.
INGREDIENTS for the Paneer
2L Organic Whole Milk
Juice of 1 lemon
Sea salt (optional)
Piece of fine muslin
METHOD:
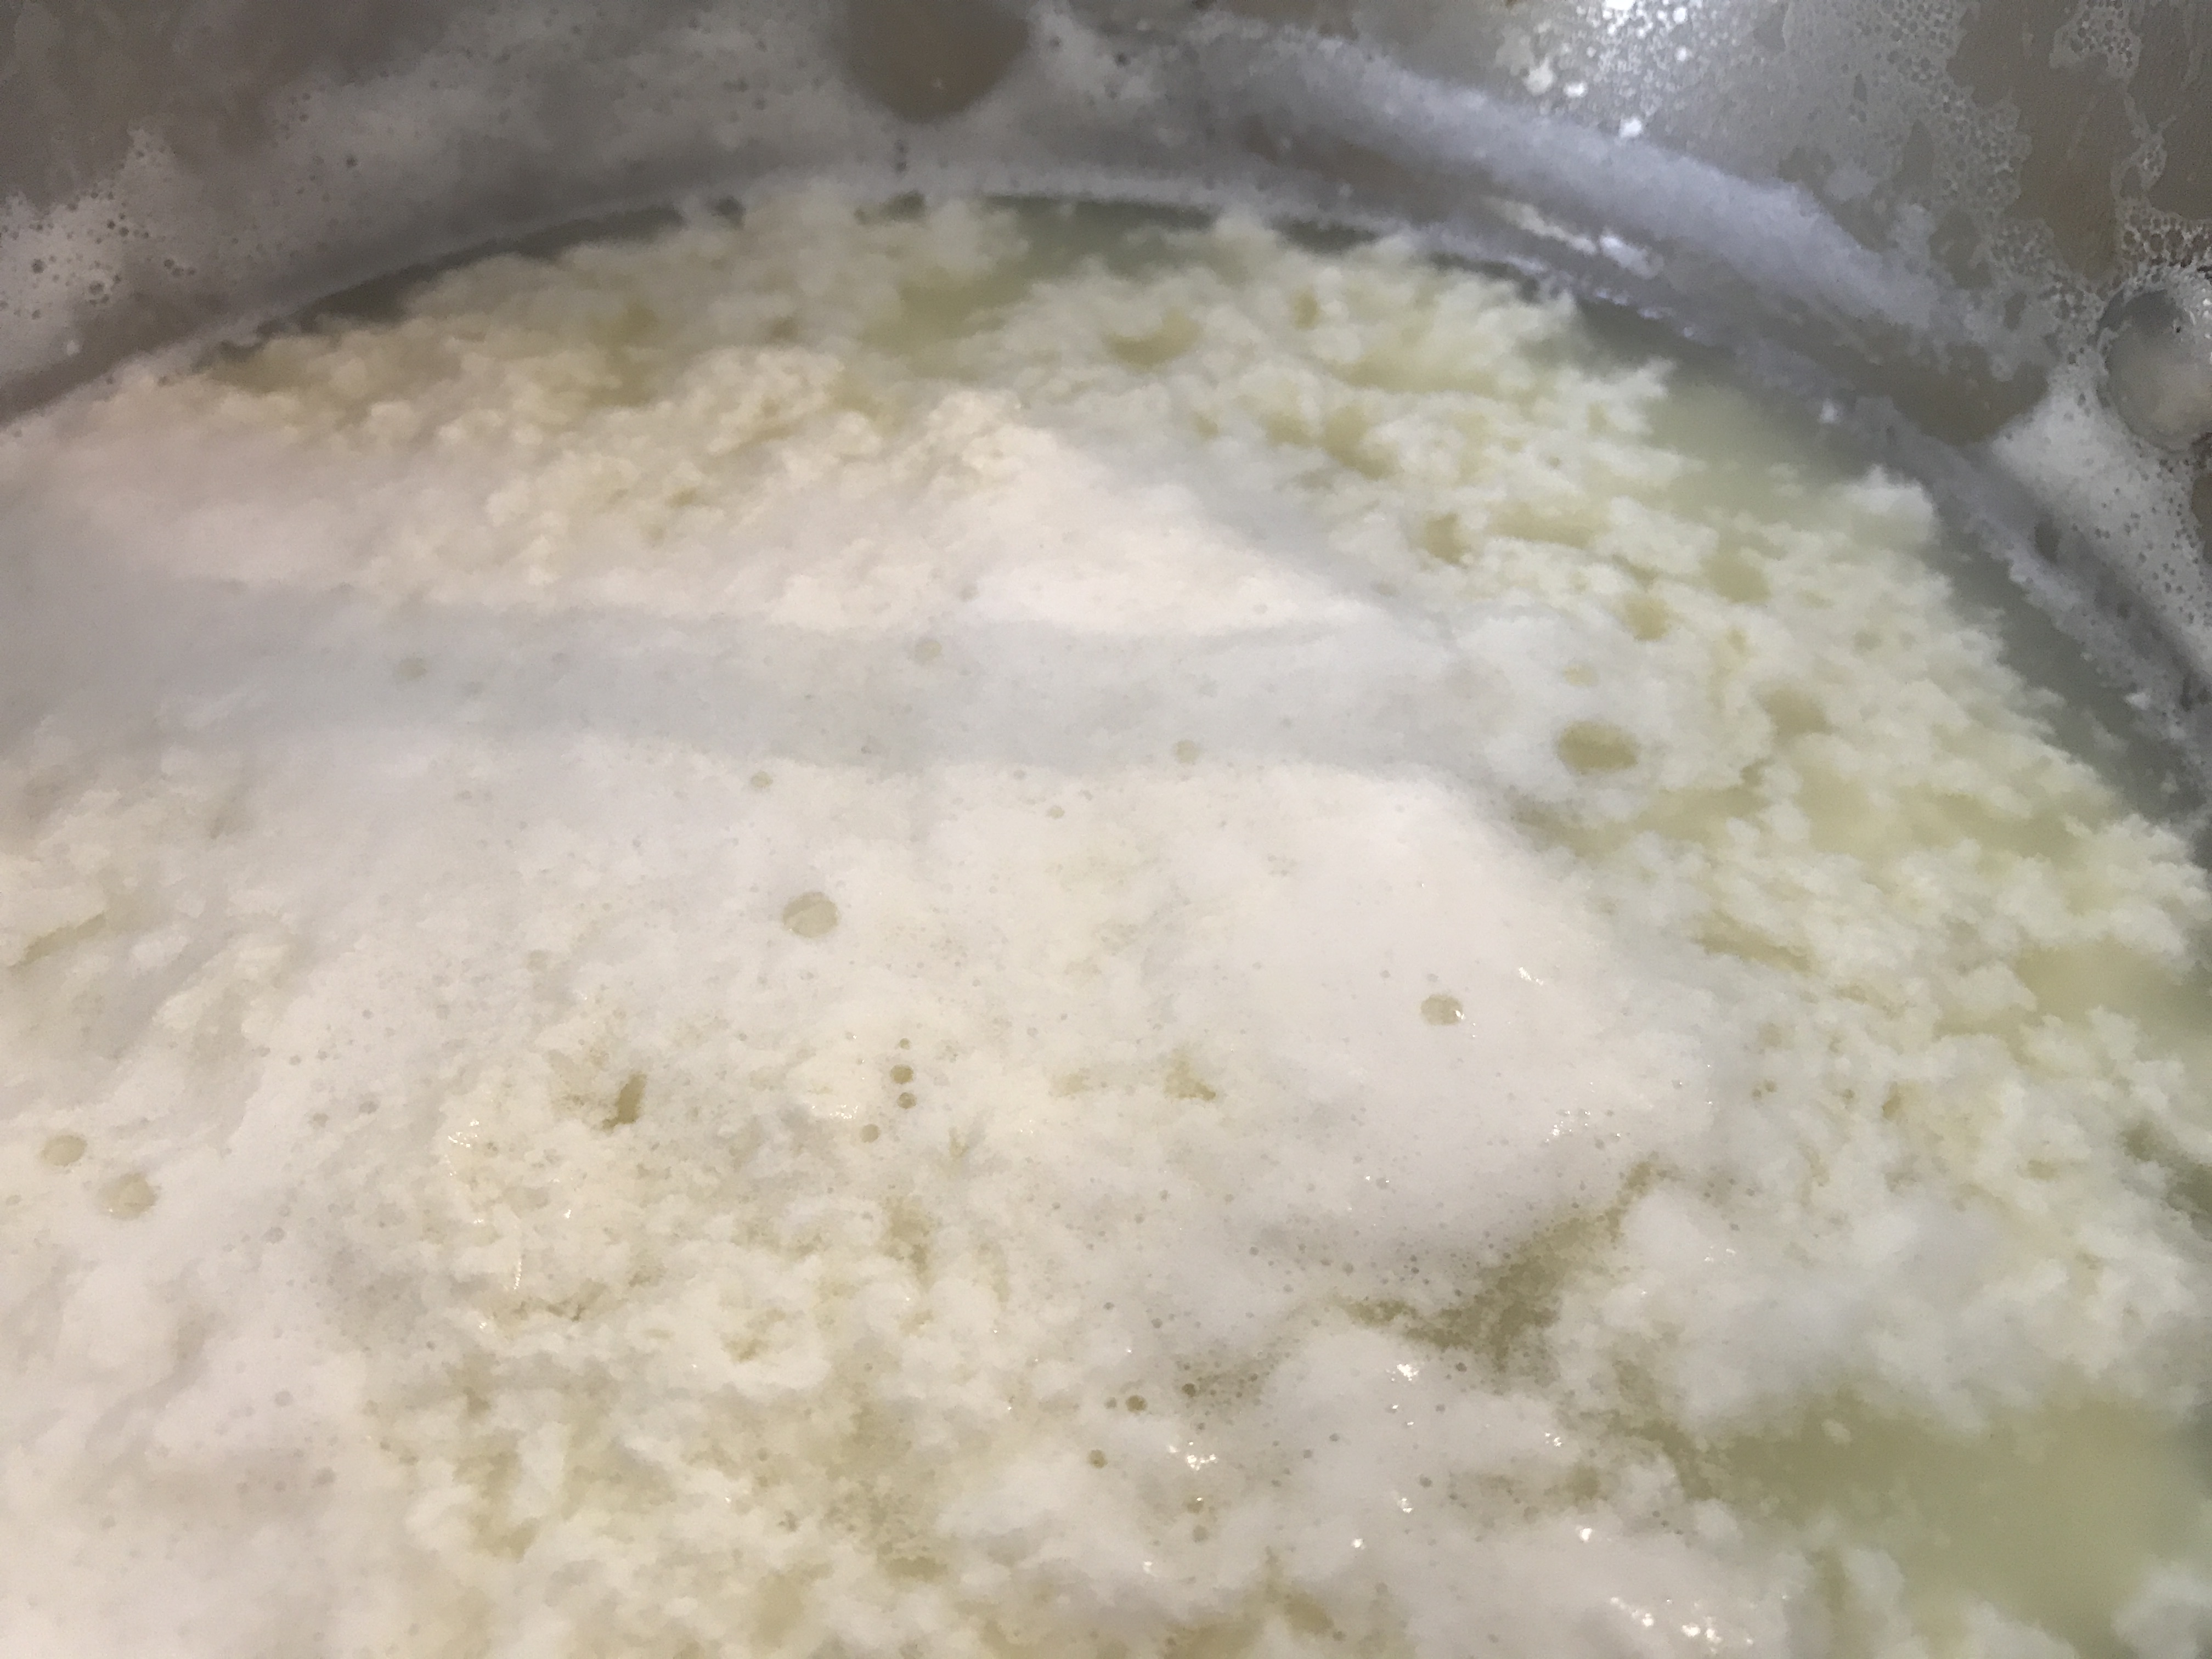
Heat the milk in a large saucepan to just under boiling point being careful it doesn’t suddenly boil over. Remove from heat and stir in the lemon juice.
Curds and whey
The milk should start to curdle immediately. If it doesn’t add a little more lemon juice.
Use kitchen gloves to squeeze the cheese
Leave to stand for 10 minutes. Line a colander with fine muslin and carefully pour the curds into the muslin. There are many uses for left-over whey from adding to homemade stock to using it as a supplement for the garden!
Pull the muslin up (I used clean kitchen gloves as it is quite hot at this point) and squeeze as much moisture out of the cheese as possible.
Shape into either a round, or a slab and wrap the cheese in the muslin. Pop it on a plate, or in a bowl and place a weight on top. Refrigerate for a few hours, or overnight.
I taped a tin and bowl on top of my cheese to weight it overnight.
INGREDIENTS for Matar Paneer
1 tablespoon oil
1 quantity of paneer, cut into cubes
1 to 2” of fresh ginger root, peeled and finely grated
1 teaspoon ground cumin
1 teaspoon turmeric
1 teaspoon ground coriander
¼ to ½ teaspoon chilli flakes (or use fresh chopped chilli)
Approximately 200g chopped tomatoes from a carton, or fresh
150g frozen peas
1 teaspoon garam masala
Fresh coriander, chopped
METHOD
Cubed Paneer
Cube the Paneer. Heat the oil in a large fry pan until really hot. Add the paneer and fry until it starts to turn brown. This happens really quickly so don’t take your eyes off it. Turn it over to brown all sides then put on to kitchen paper on a plate and set aside.
Paneer doesn’t melt when fried
Add the ginger, cumin, turmeric, ground coriander and a few chilli flakes to the pan and fry for about 1 minute. Add in the tomatoes and simmer for about 5 minutes until everything is mixed together well and fragrant. You may need to add a little water if the mix is too thick. Season to taste with sea-salt and freshly ground black pepper.
Add the peas and continue simmering for two minutes before stirring in the paneer and garam masala. Gently stir until the cheese is warmed through.
Pile into a bowl and sprinkle with chopped fresh coriander. Serve with rice or naan bread.
Delicious freshly made or reheated the next day.
Recipe adapted from Good Food Guide.
All photographs used in this blog have been taken by me, and are of food I have prepared and served myself.
I had my first taste of Turkey Bobotie nearly 40 years ago when a friend cooked it for me one evening. It was absolutely delicious and I have been cooking it ever since. I have no idea where my friend got the recipe from but searching on Google I find that Bobotie is a South African dish consisting of spiced minced meat (often beef or pork) baked with an egg-based topping.
Because Bobotie reheats beautifully (covered in foil) I always make a large one but the recipe could easily be halved. I often use gluten-free bread as my husband is gluten intolerant but have used sourdough and ordinary bread in the past; the bread keeping the Bobotie lovely and moist. More topping can easily be added by the addition of another egg and a little more milk. This is a lightly spiced dish, full of delicious sweet and spicy flavours. I usually use a hot curry powder and it isn’t overpowering.
INGREDIENTS:
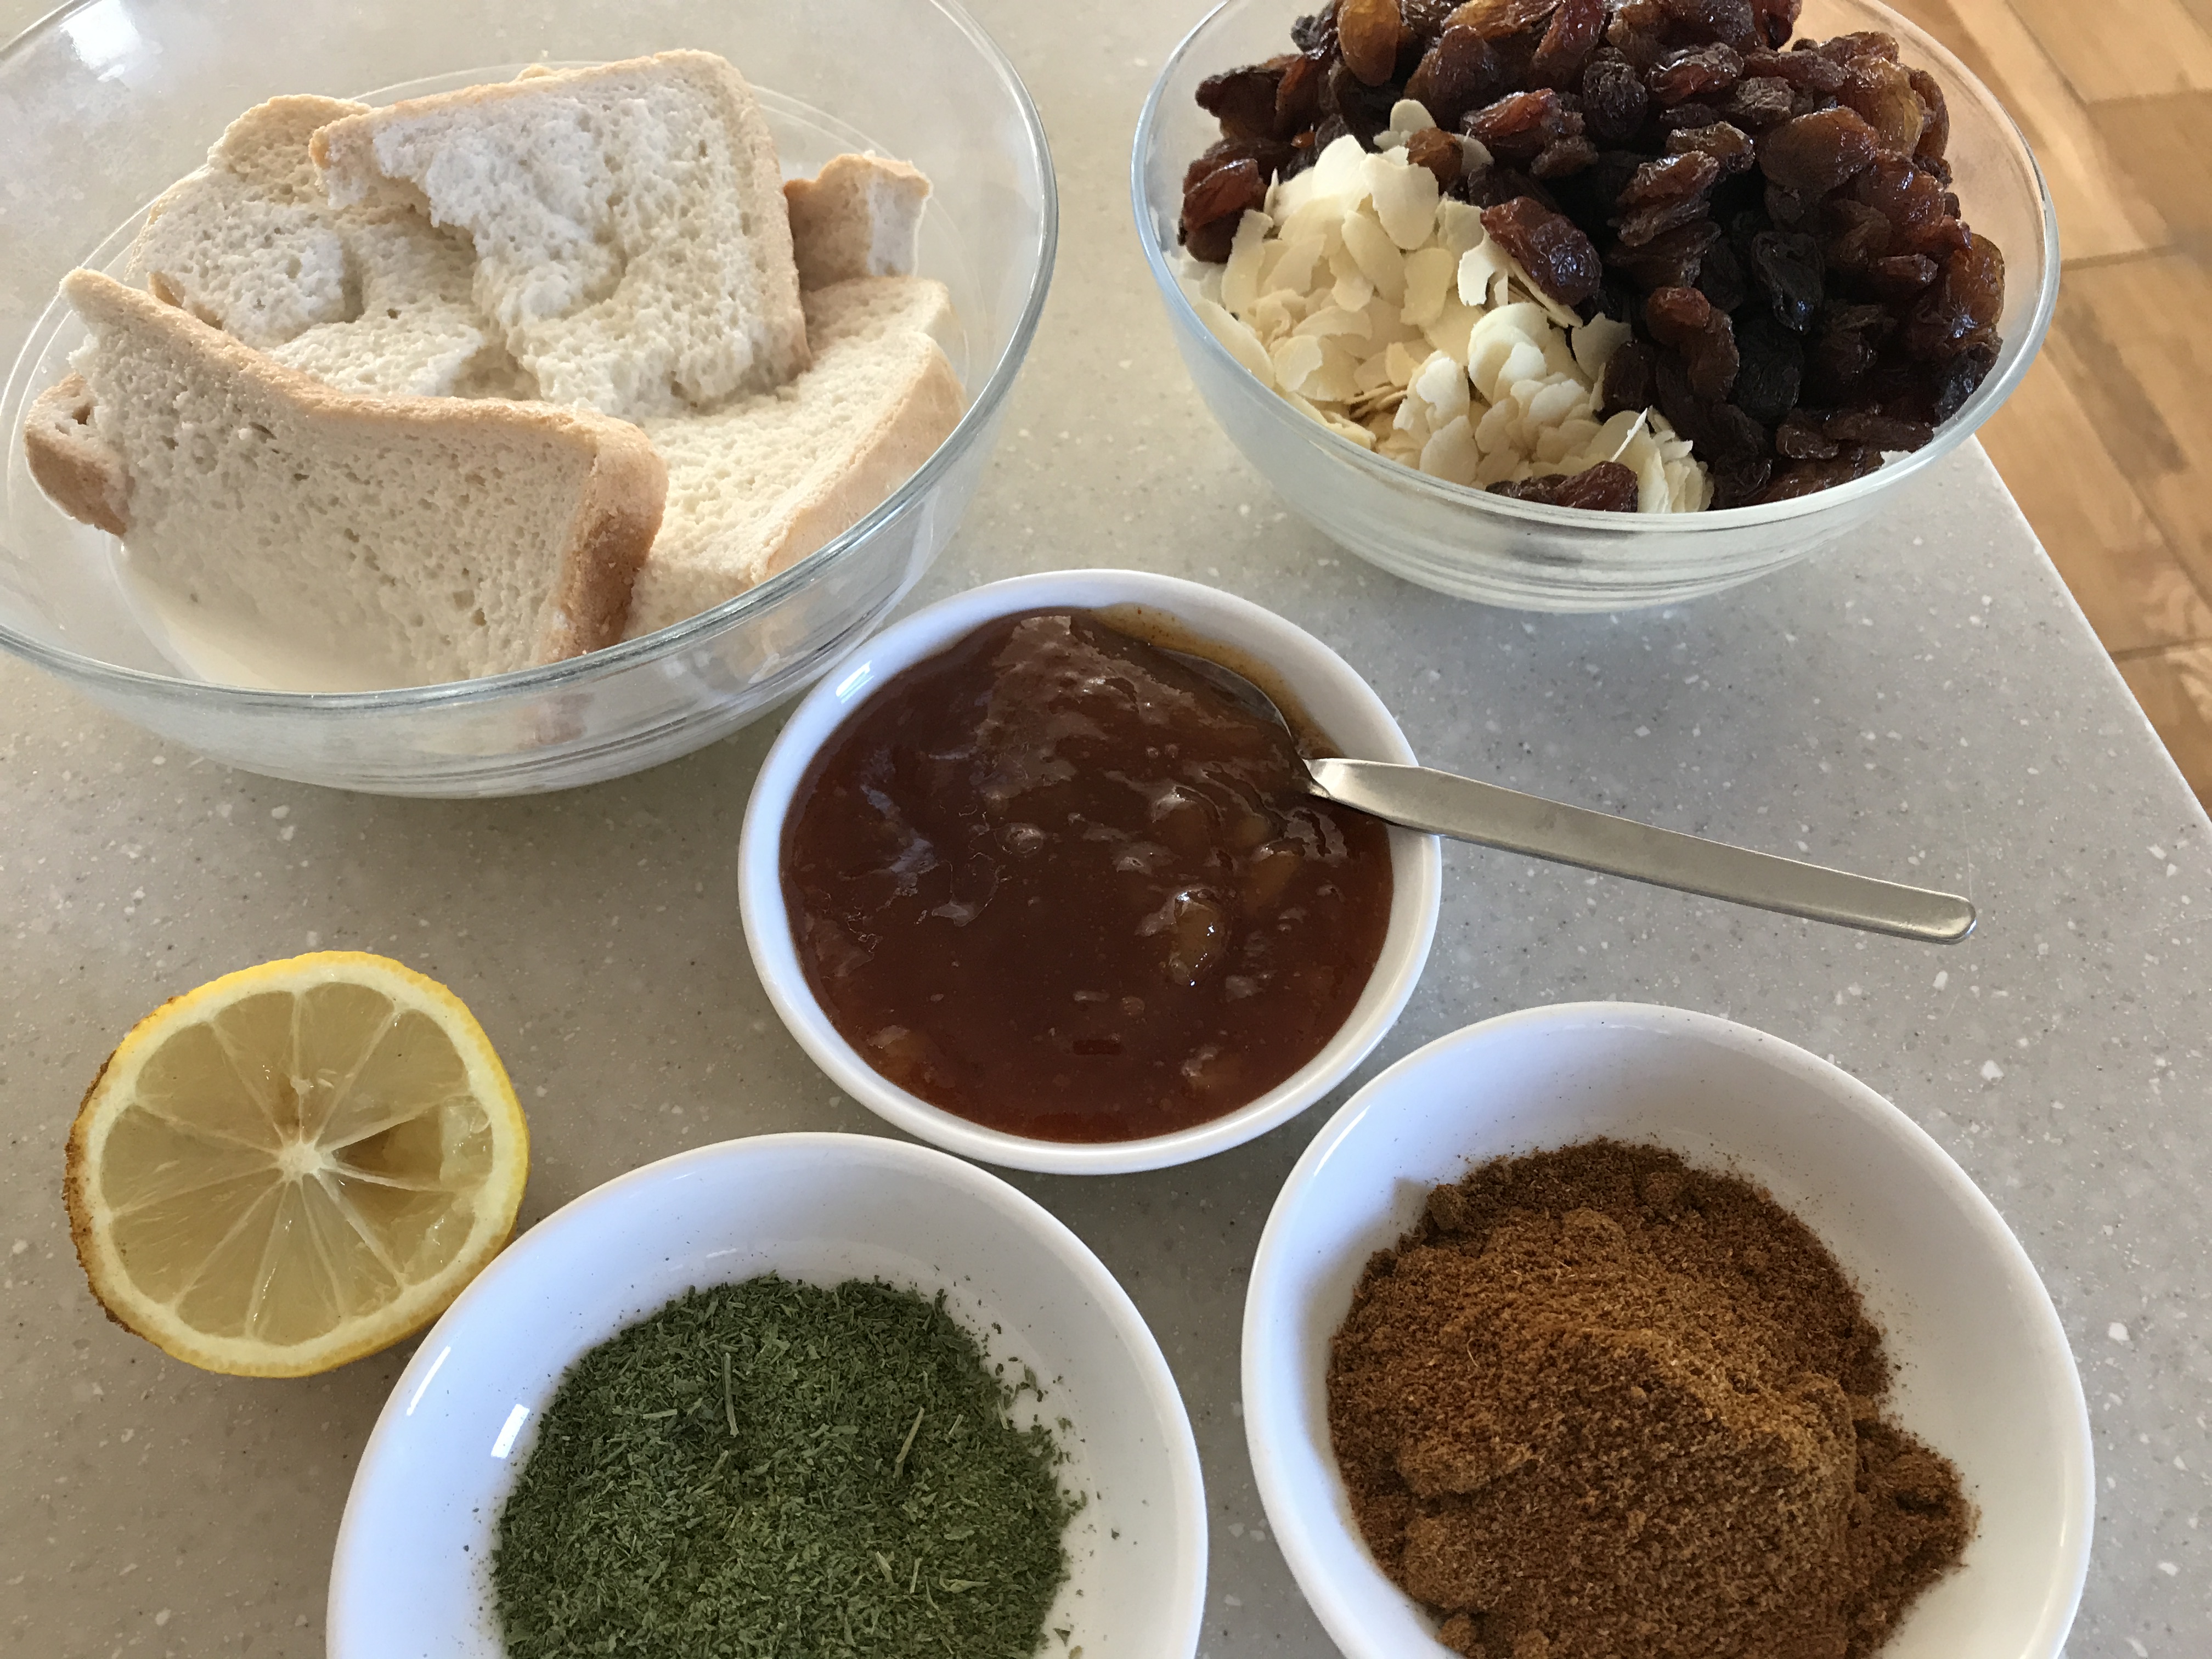
2 slices white bread (gluten-free can be used)
2 tablespoons oil of choice
2 garlic cloves, finely chopped
3 onions, chopped
2lb minced turkey (raw)
2 tablespoons curry powder
3oz flaked almonds
4oz sultanas
1 tablespoon chopped fresh parsley (or 1.5 teaspoons dried)
Juice of 1 lemon
2 tablespoons Mango chutney
3 eggs
½ pint+ whole milk
Sea salt and freshly ground black pepper
METHOD:
Place the bread in a small bowl and pour over the milk.
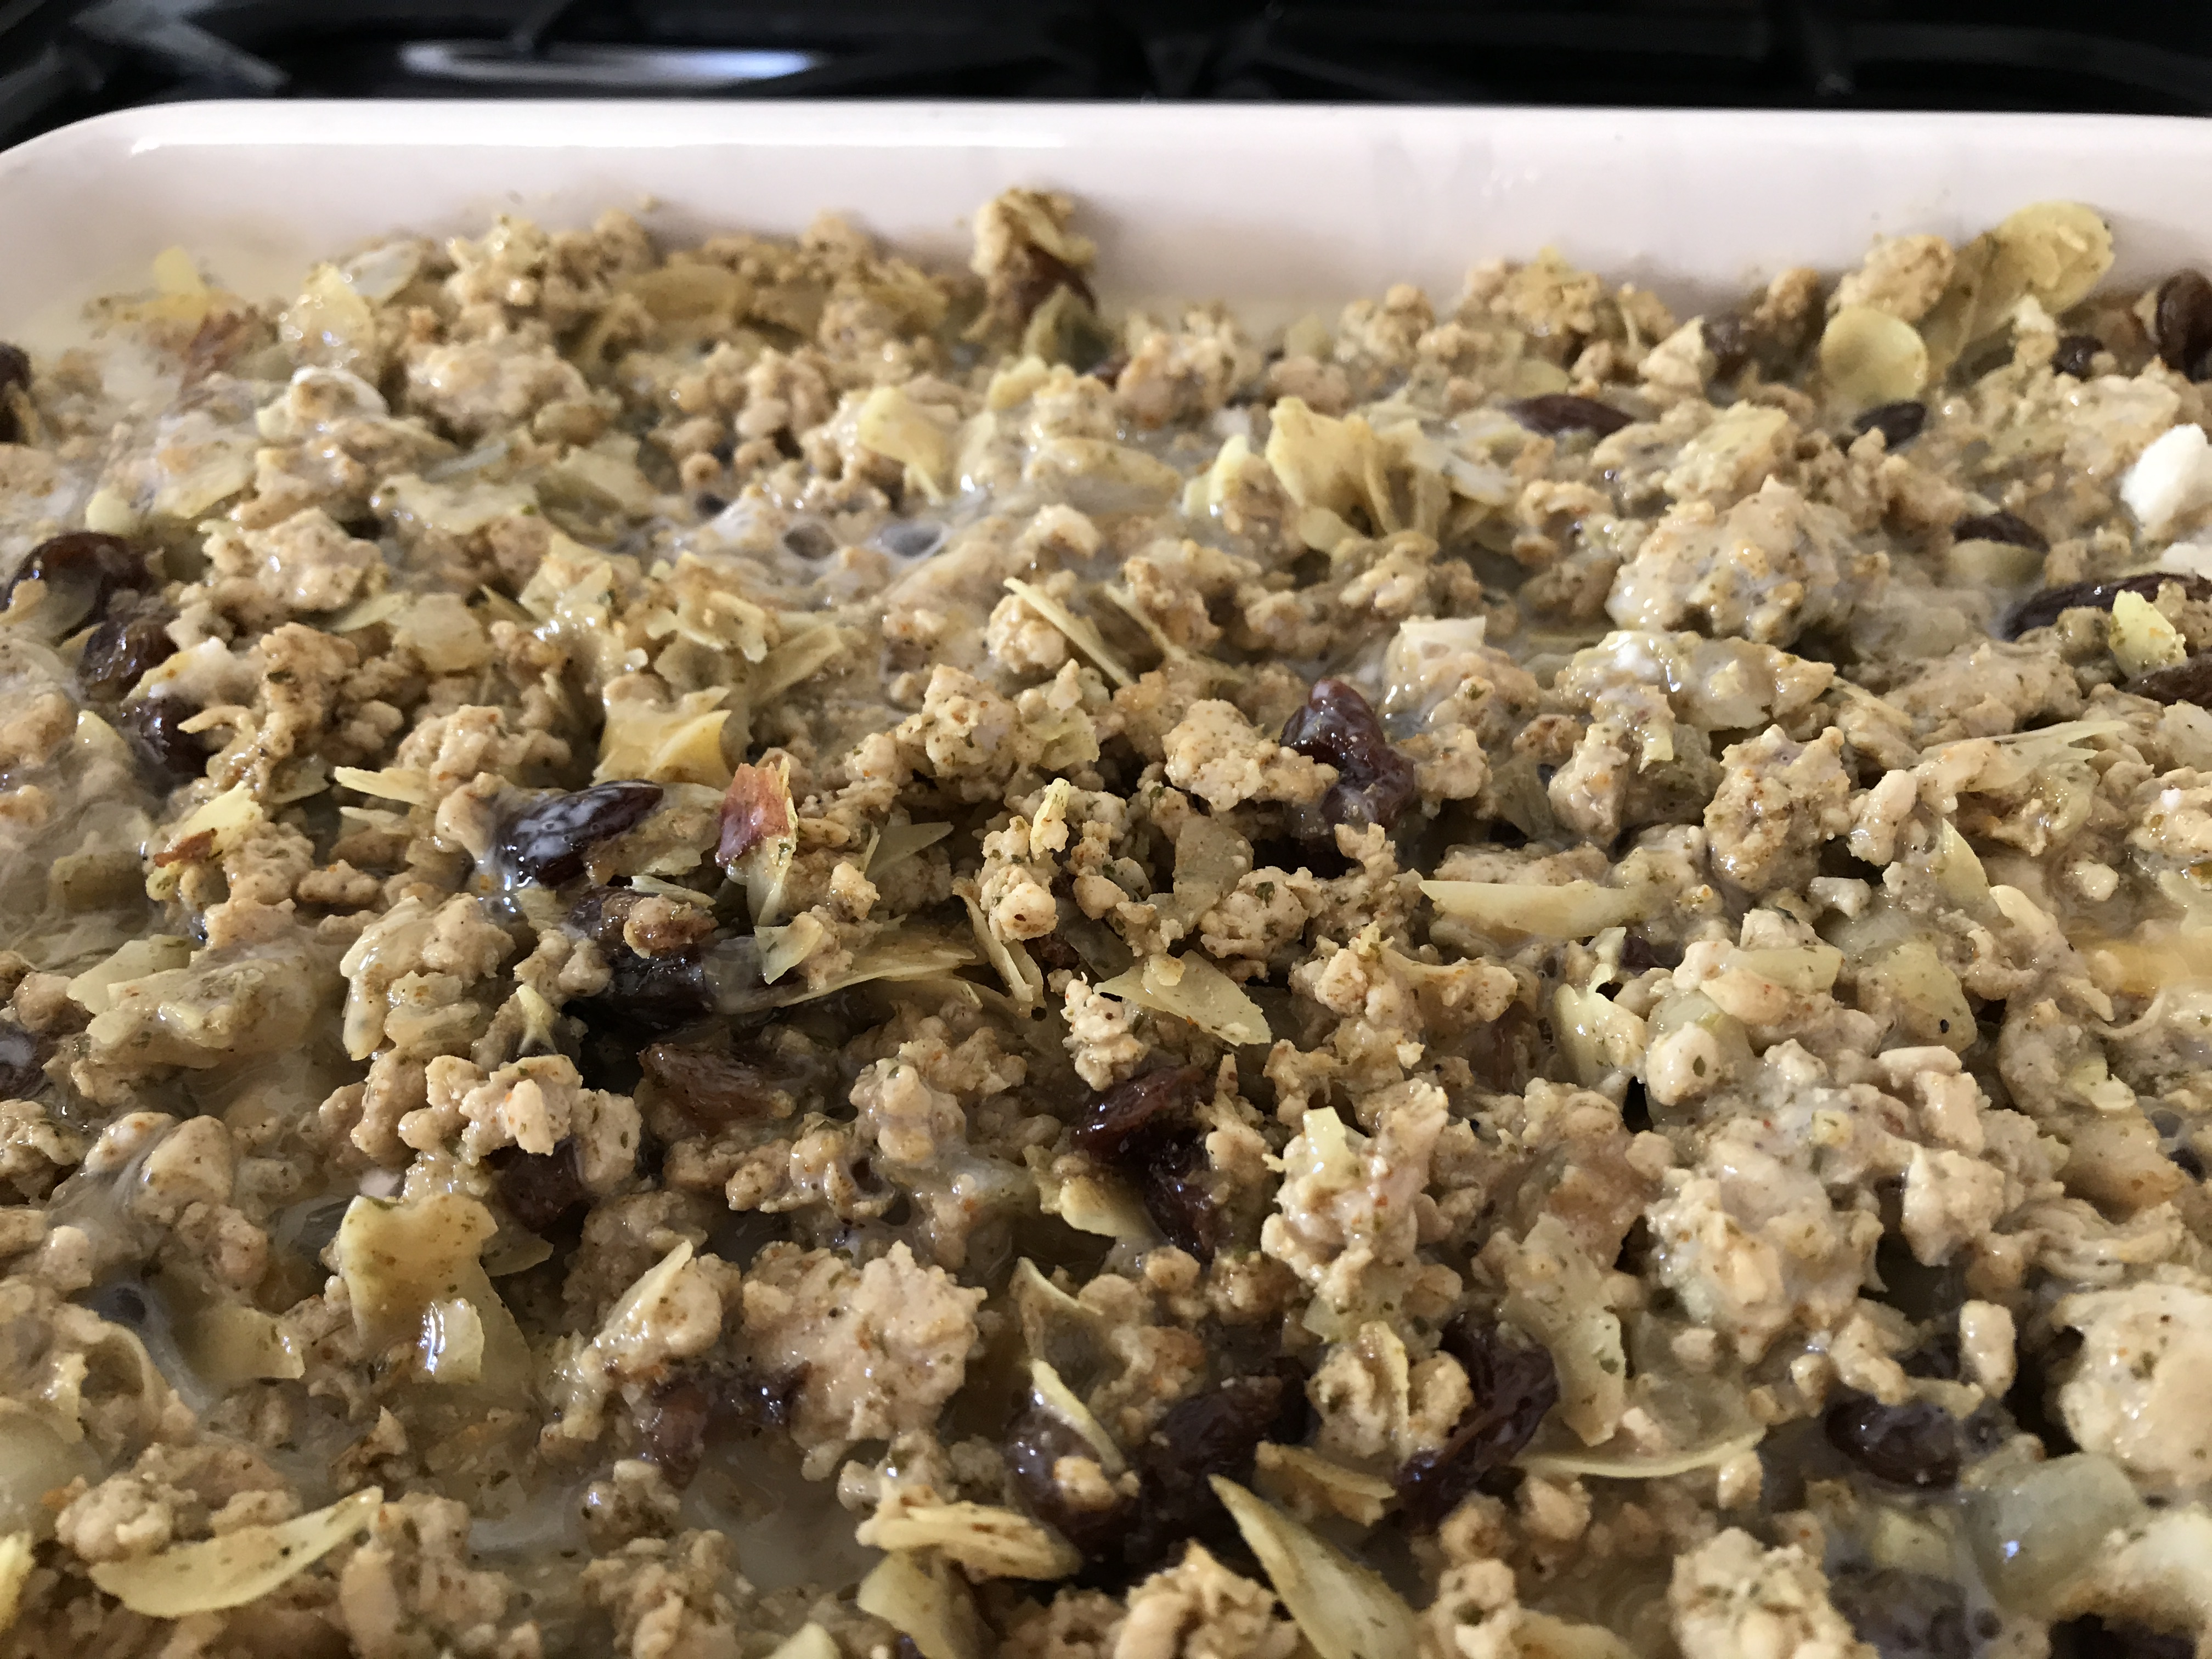
Gently saute the garlic and onion in the oil for 5 minutes. Add the turkey mince and fry until slightly browned and cooked through breaking up the turkey as it cooks.
Stir in the curry powder, almonds, sultanas, parsley, lemon juice, chutney and seasonings.
Squeeze the milk out of the bread (retaining the milk in the bowl) and add the bread to the turkey mixture, stirring it in thoroughly.
Spoon the mince into an oiled ovenproof dish.
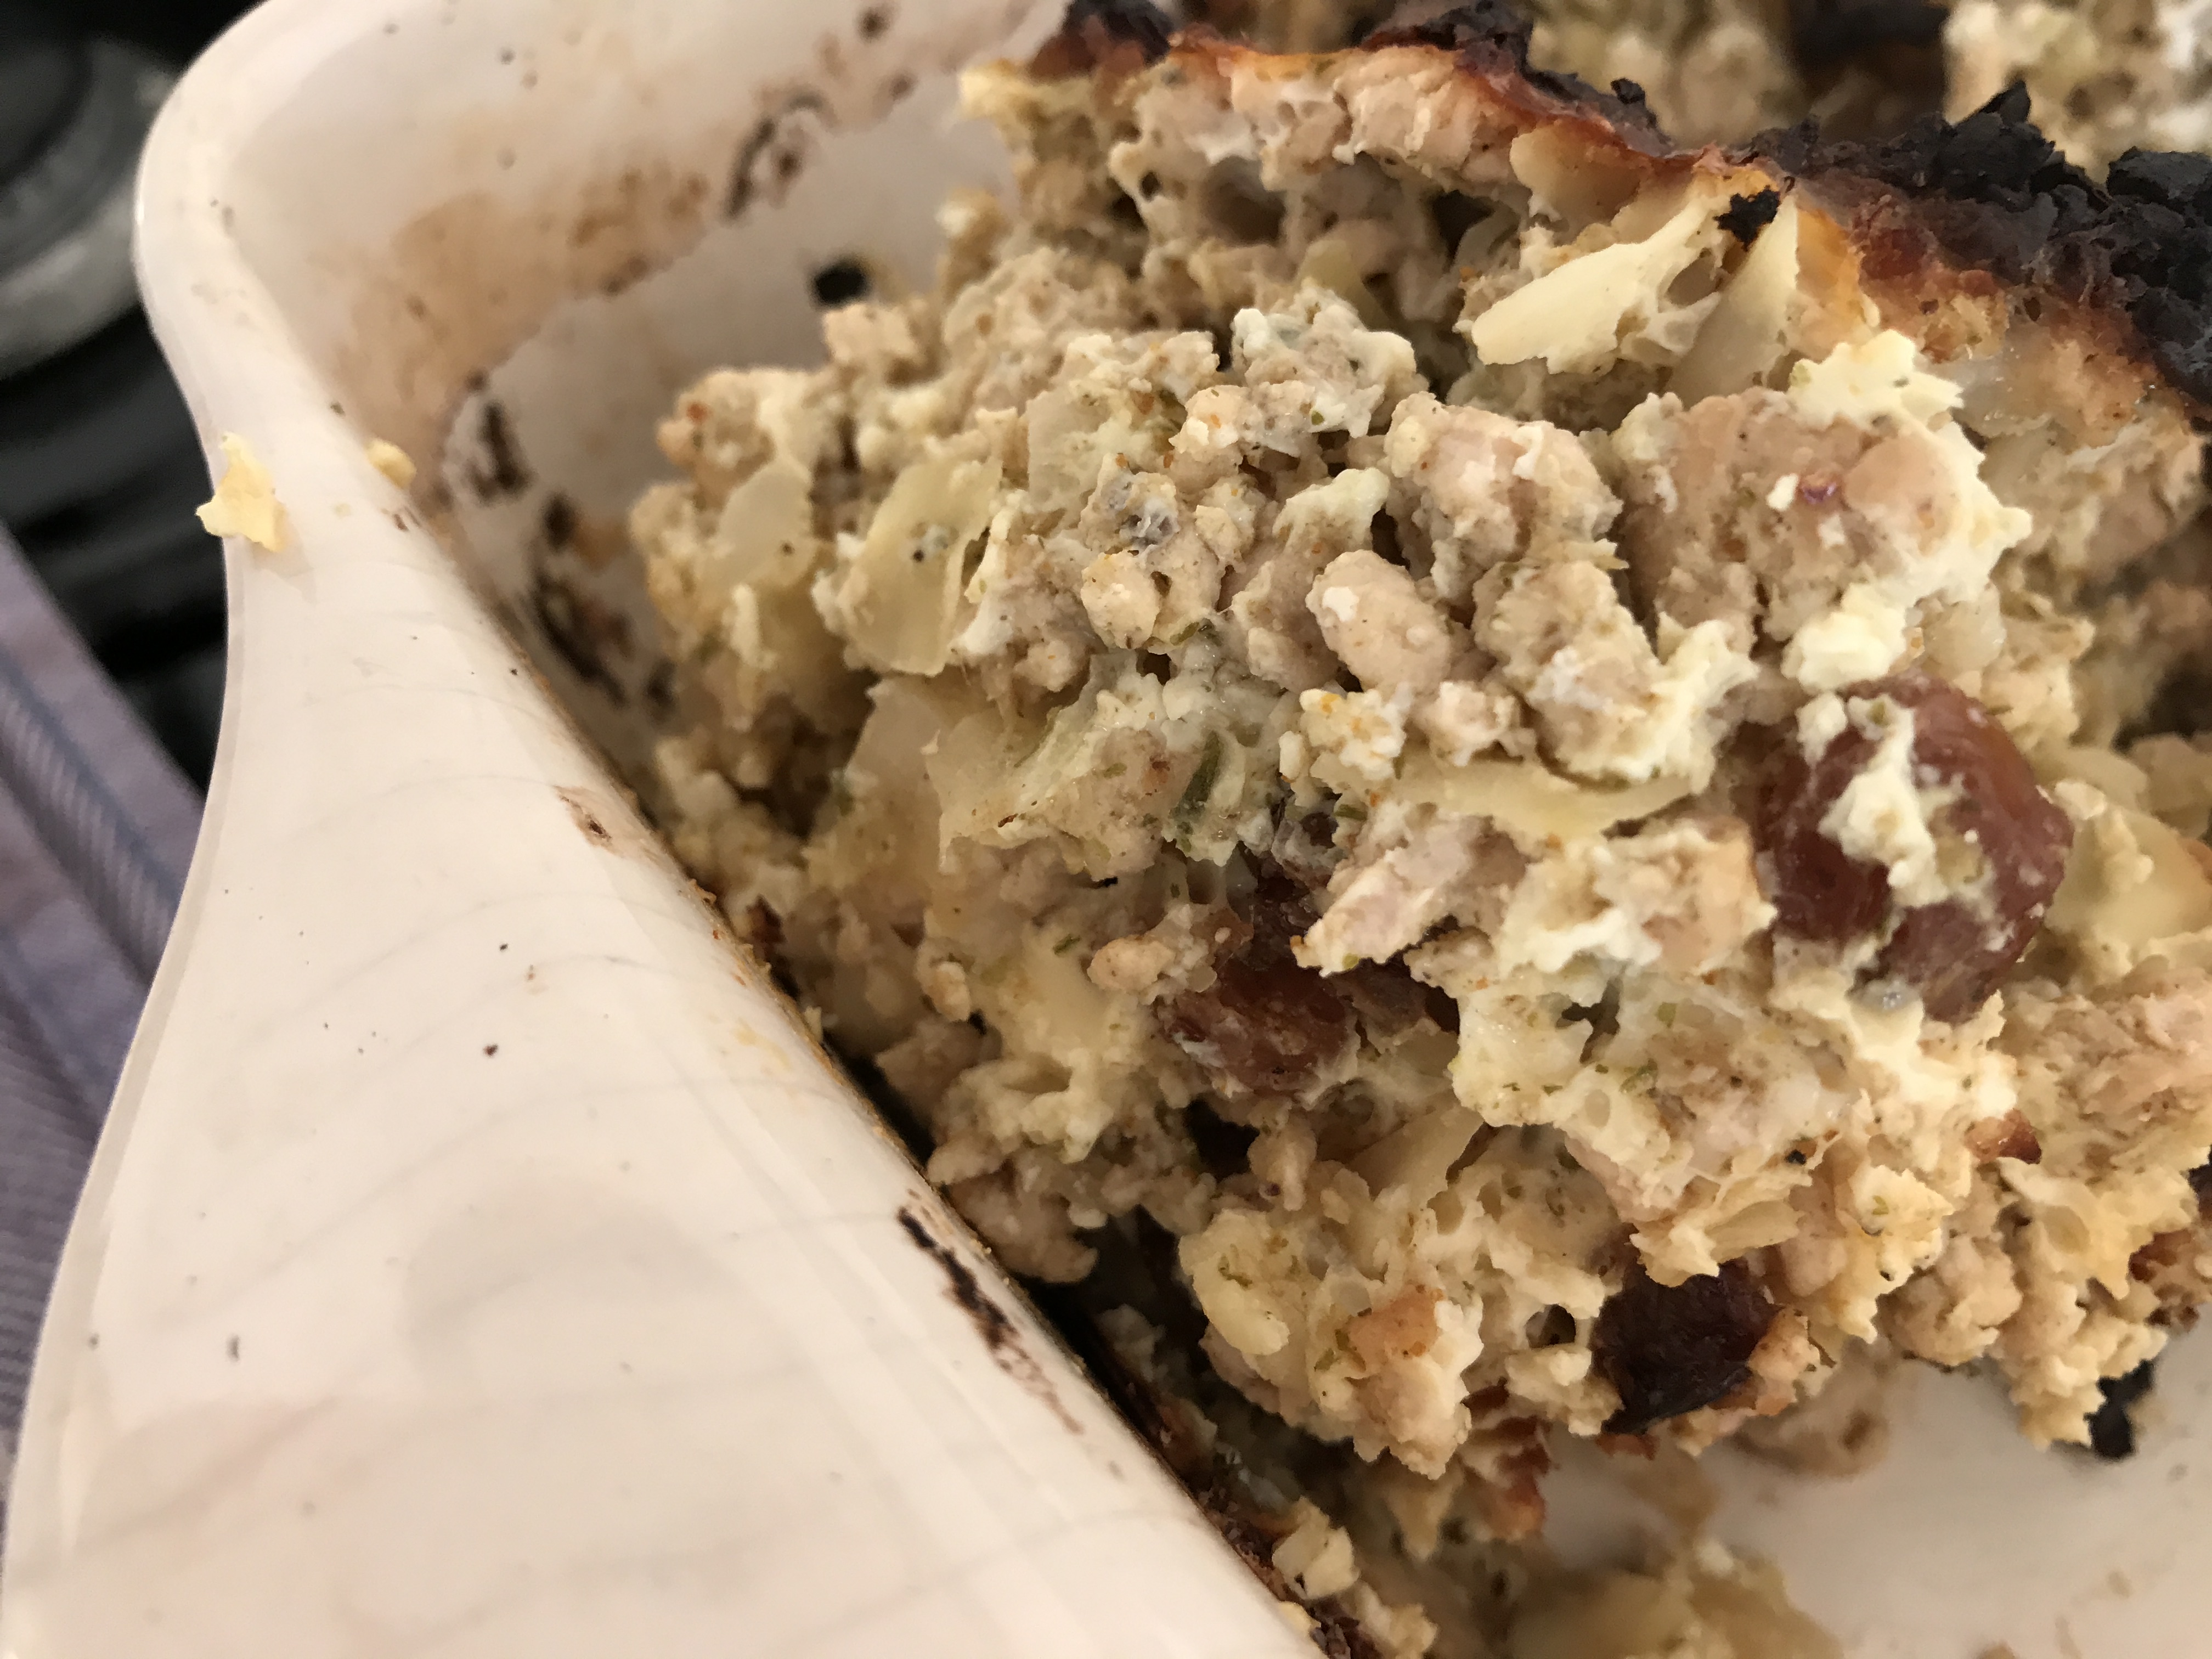
Beat the eggs with the milk and pour over the mince.
BAKE: 350°F Gas 4 for approximately 40 minutes or until the egg mixture has set and the turkey piping hot.
Serve the Bobotie with “yellow rice” and slices of banana, or a fresh green salad.
NB: All photographs used in this blog have been taken by me, and are of food I have prepared and served myself.
Pop an ingredient in the box and see what comes up
Email:
robbinnsrecipes@gmail.com
Oven Conversion Chart
Titbit #1 Lemon Granules
Sprinkle my lemon 'granules' on your noodles (zoodles) and be amazed at the flavour. Put 'lemons' in the search box above to read about them.
Titbit #2 Freeze your Breadcrumbs
Buy bread (Gluten-Free) when it’s on offer and blitz into breadcrumbs. Pop useful amounts into bags and freeze. So handy to just grab from the freezer. Thaws quickly.
Titbit #3 Sweetcorn Mash
For a change - rather than using potato or sweet potato, heat a couple of cans of sweetcorn; drain and blitz for an instant, tasty mash.