Clementine and Cardamon Cake

cake

Clementine and Cardamon Cake

Another recipe being shared from UK Health Bloggers is from Sarah at The School of Balance and her Clementine and Cardamon Cake.

A flour-less cake which is gluten free, dairy free and also refined sugar free.


Photograph courtesy of The School of Balance.

Posted in Outside Links, Sweets and Treats | Tagged , , , , , , | Leave a comment

Paleo Mincemeat

Christmas is coming……… and I do love Christmas.  Not the commercial side of it, but the traditional aspects especially the aromas steeping through the house as various bits are readied for the holiday.  Brings back so many lovely memories of years gone by, and making mince pies is one of them.

Being gluten intolerant and trying to eat healthily, mincemeat/pies are usually not on our Christmas list of foods to indulge in but when I spotted this recipe for Paleo mincemeat, I decided to give it a try.

It definitely smelled of Christmas whilst I was mixing the ingredients together.  My coconut oil was really solid so I found it easier to chop it into ‘suet-like’ pieces with a knife before adding it to the rest of the mix.

INGREDIENTS:

250g raisins
375g currants
100ml brandy
Zest of 1 lemon, juice of ½
300g coconut oil, from the fridge (important)
250g coconut palm sugar
85g chopped mixed peel
½ small nutmeg, grated
1 large Bramley apple, peeled and grated or finely chopped
3 tablespoons Chia seeds

METHOD:

Mix all the ingredients together and allow to soak for at least one hour in the fridge before using.  After a couple of days soaking, the mincemeat really took on a lovely deep aroma and colour.  I kept stirring it well and it was lovely and moist.

Store in an airtight jar in the fridge until needed, where it will keep for quite a while.

2016-11-27_14-08-44_104

Just mixed!

Recipe adapted from Designed2Eat

I have made two different batches of mince pies so far with this mincemeat and it is a real success;  delicious flavour.    I will be posting the GF pastry recipes on the blog in the coming days.

NB:  All photographs used in this blog have been taken by me, and are of food I have prepared and served myself.


Posted in Miscellany, Sweets and Treats | Tagged , , , , , , , , , , | 2 Comments

FREE Gluten Free Christmas Ebook

freeebook

Following on from the delicious Guilt-Free Christmas Cake shared yesterday from one of my new friends on UK Health Bloggers, today I would like to share the amazing FREE Gluten Free Christmas Ebook from Jo Romero of Comfort Bites (just click on the link above to download).

Full of her favourite recipes from the blog to help you over Christmas.

Posted in Miscellany, Outside Links, Sweets and Treats | Tagged , , , , | Leave a comment

Guilt-Free Christmas Cake

christmas-cake-809x1221I belong to an exciting new Facebook Group – UK Health Bloggers and today we are starting to share some exciting Christmas recipes from other bloggers.

My first ‘share’ is from Donna Crous at Eighty 20 Nutrition and her delicious-looking Guilt-Free Christmas Cake


Take a look – it might be what you are looking for !

Photograph from Eighty 20 Nutrition


Posted in Outside Links, Sweets and Treats | Tagged , , , , | 1 Comment

Parsnip, Pork and Apple Stuffing – Gluten Free

A stuffing is not just for Christmas………

Jamie (Oliver) says that this stuffing is “dynamite” with turkey, but it is also a winner with roast chicken any day of the week.

However, I found it very reminiscent of past Christmas Eves when we always had homemade sage and onion stuffing on the go in our house together with a sausagemeat stuffing.  This recipe combines the best of both and by using gluten-free breadcrumbs, it is perfect for my gluten intolerant husband.   The aroma whilst making it was heaven.  The main problem being that I was making it a day in advance, so I had to wait to try it out!

INGREDIENTS:

Olive oil
2 onions
A few springs of fresh sage
Splash of cider
4 parsnips
2 eating apples
8 gluten-free sausages
200g gluten-free breadcrumbs
1 large free-range egg
1 lemon

METHOD:

Peel and finely chop the onions and pop into a large non-stick pan with a good lug of olive oil.  Saute for 5 to 10 minutes until they are softened but not coloured.

Peel and chop the parsnips;  chop the sage and add these to the pan together with the cider and a good pinch of sea salt and black pepper.   Place a lid on the pan and leave for ten minutes to soften the parsnips stirring occasionally.

Peel and chop the apple then add it to the pan once the parsnips are softened.  Cook for a few minutes then put the mixture into a large bowl and leave to cool completely.

Once cool, skin the sausages and add the meat to the mix, together with the breadcrumbs.

Finely grate the lemon zest into the bowl and add the egg.

Use your hands to squeeze the mixture together until it is well mixed. Press into a greased dish/tin – cover with foil and bake for 45 minutes at 190°C.  Remove the foil and cook for a further 15 minutes.

Serve and enjoy.

2016-11-27_17-31-09_669

Parsnip, Pork and Apple Stuffing

2016-11-27_17-34-38_906

Delicious spoonful


Update:  I served the stuffing with roast chicken and it was really tasty;  sausagemeat, apple with only a hint of parsnip.   Highly recommended.

Recipe adapted from Jamie Magazine

NB:  All photographs used in this blog have been taken by me, and are of food I have prepared and served myself.


Posted in Dinner, Miscellany | Tagged , , , , , , , , | Leave a comment

Green Kiwi Smoothie

I’ve recently returned from a lovely holiday in the sun.  It was a return visit as we knew the hotel had an amazing head chef and the food served was ‘out of this world’ and I really do love good food, especially when there is such a range of choice.

Many evenings, on entering the restaurant, my husband and I were offered a special alcoholic beverage ‘on the house’ – there was even champagne on ice for breakfast!   As I don’t drink alcohol I usually just passed on the drink but one evening the Maitre d’ saw me doing this and almost immediately returned with a flute of kiwi juice, and it was superb.  This was the ‘neat’ juice but during the day I found it delicious mixed with coconut water making a longer drink.

I love kiwi fruit, either eaten on their own or in a fruit salad but I have never juiced them.  I was amazed – what a fantastic tangy, fruity drink and so very refreshing.   I was also told how ‘good’ they were for me.   On checking this, I found that kiwi fruit are packed with more vitamin C than the equivalent amount of a fresh orange and contain numerous phytonutrients as well as well-known vitamins and minerals that promote good health.

I also discovered that they make a really delicious smoothie which is full of goodness.

INGREDIENTS:

2016-11-21_14-03-22_238

Simple fresh ingredients (cucumber missing from picture)

2 organic kiwi fruit, unpeeled if organic
½ avocado, peeled
Cup and a half of baby spinach leaves
1/3 cucumber, unpeeled
2 teaspoons flaxseed
Coconut water


METHOD:
Place all ingredients into a Nutribullet or similar. Add coconut water (about 1 cup) and blitz for 1 minute.   If too thick, add a little more coconut water.

2016-11-21_14-00-21_131

Green Kiwi Smoothie


A healthy, creamy green smoothie either for breakfast or lunch with such a delicious taste.  Not too sweet.


All photographs used in this blog have been taken by me, and are of food I have prepared and served myself.

Posted in Breakfast, Miscellany, Vegetarian | Tagged , , , , , , , , , | Leave a comment

Garlic and Ale Beef (Slow Cooker)

2016-10-07_19-56-37_189

Only a few ingredients

A perfect meal to come home to – ten minutes preparation, leave it cooking for the day and a few minutes prep when you get in and “voila” a meal that looks like you have spent hours slaving over a hot stove !!

2016-10-08_08-14-04_368

Ready for cooking

I served my Garlic and Ale Beef with my homemade Flaxseed Focaccia, toasted from the freezer, and a really tangy Kale, Brussel Sprout, Apple and Pomegranate Salad.   It all went together perfectly.  The beef could be served on bread rolls (if you are not gluten-free) or even to top a baked potato or baked sweet potato which is what we did with the left-overs.


Another bonus of finding this recipe was that I also found a marvellous tip for making Italian Dressing quickly and easily; storing the herbs and spices in an airtight container and adding to oil and vinegar when you need the dressing.  Recipe further down.

INGREDIENTS (would serve 8 but reheats beautifully)

1 x 3lb beef chuck roast
½ teaspoon salt
½ teaspoon black pepper
4 garlic cloves
1 red onion, sliced
1 cup Italian dressing
1 cup beer (use your favourite but make sure it is GF if necessary)
2 bay leaves

METHOD:

Put the chuck roast into a large slow cooker. Sprinkle with the salt and pepper and lay the garlic cloves on top of the roast.  Add the red onion slices then pour over the Italian dressing and beer. Finally topping with the bay leaves.

Cover and cook (without taking the lid off) for 6 hours on HIGH or for 8 to 10 hours on LOW.

Discard bay leaves. Take the meat out and shred with two forks. Mash the garlic and mix in with the meat. Drain off and discard any fat/oil and mix the cooking juices in with the meat.  I found the oil soon rose to the top of the juice which I discarded, then I mixed about half of the juice in with the meat.

Toast your buns/bread and pile high with the meat mixture. If desired, top with some sliced Colby-Jack cheese (or grated cheddar) and pop under the grill for a minute or two to melt.

Serve either on their own, or with a delicious green salad.

Italian Dressing Mix adapted from Allrecipe.com
Ingredients:
1 tablespoon garlic salt
1 tablespoon onion powder
1 tablespoon coconut sugar
2 tablespoons dried oregano
1 teaspoon ground black pepper
¼ teaspoon dried thyme
1 teaspoon dried basil
1 tablespoon dried parsley
¼ teaspoon celery salt
2 teaspoons salt
In a small bowl, mix together all the ingredients and store in a tightly sealed container.
To prepare the dressing – whisk together ¼ cup white vinegar, 2/3 cup olive oil, 2 tablespoons water and 2 tablespoons of the dry mix.

2016-10-08_17-09-35_627

or serve open

2016-10-08_17-06-56_066

Top like a burger…

Garlic and Ale Beef recipe adapted from CooktopCove

NB:  All the photographs used in this blog have been taken by me, and are of food I have prepared and served myself.

Posted in Dinner, Lunch | Tagged , , , , , , , , | 1 Comment

Chocolate Banana Muffins

There are plenty of recipes for Chocolate Banana Muffins – all very slightly different – so I’m not 100% sure where I found this one but the muffins are so tasty that it is one of my favourite recipes especially as they store so well in the freezer.  Very handy for when the grandchildren come around.

Deliciously moist and chocolatey, these muffins don’t need any additional chocolate chips but if you really wanted to, just add some to the raw mix and top with a few extra before baking.  The darker the chocolate, the better it is for you!

I prefer to make my own oat flour as it is so easy.    Just blitz gluten-free oats in a blender until a fine flour is created.

INGREDIENTS:

1 ¼ cups oat flour (gluten-free)
½ cup almond flour
½ cup unsweetened Cacao powder
1 ¼ teaspoons baking powder (gluten-free)
¾ teaspoon baking soda
½ teaspoon salt
1 ½ cups mashed, very ripe bananas (about 3 – 4)
6 tablespoons unsalted butter, melted (or coconut butter)
¼ cup honey
2 large eggs, lightly beaten
1 teaspoon vanilla extract

METHOD:

Preheat oven to 400°F.

Line 12 muffin tins or 18 cupcake tins with cases.

Mix together the oat flour, almond flour, cacao, baking powder, baking soda and salt in a medium bowl.

In a separate bowl, whisk the bananas, butter, honey, eggs and vanilla until combined.

Pour on to the dry ingredients and quickly stir until mixed.

Divide the mix evenly between the cake cases.

Bake for about 12 – 15 minutes or until a cocktail stick comes out clean.

Store in an airtight container, or freeze (if they last that long).

2016-10-26_15-40-01_544

Chocolate Banana Muffins

NB:  All the photographs used in this blog have been taken by me, and are of food I have prepared and served myself.

Posted in Sweets and Treats | Tagged , , , , , , , , , | Leave a comment

Spicy Red Curry Cauliflower “Wings” with a Green Chutney

Wow…….what a tasty dish!

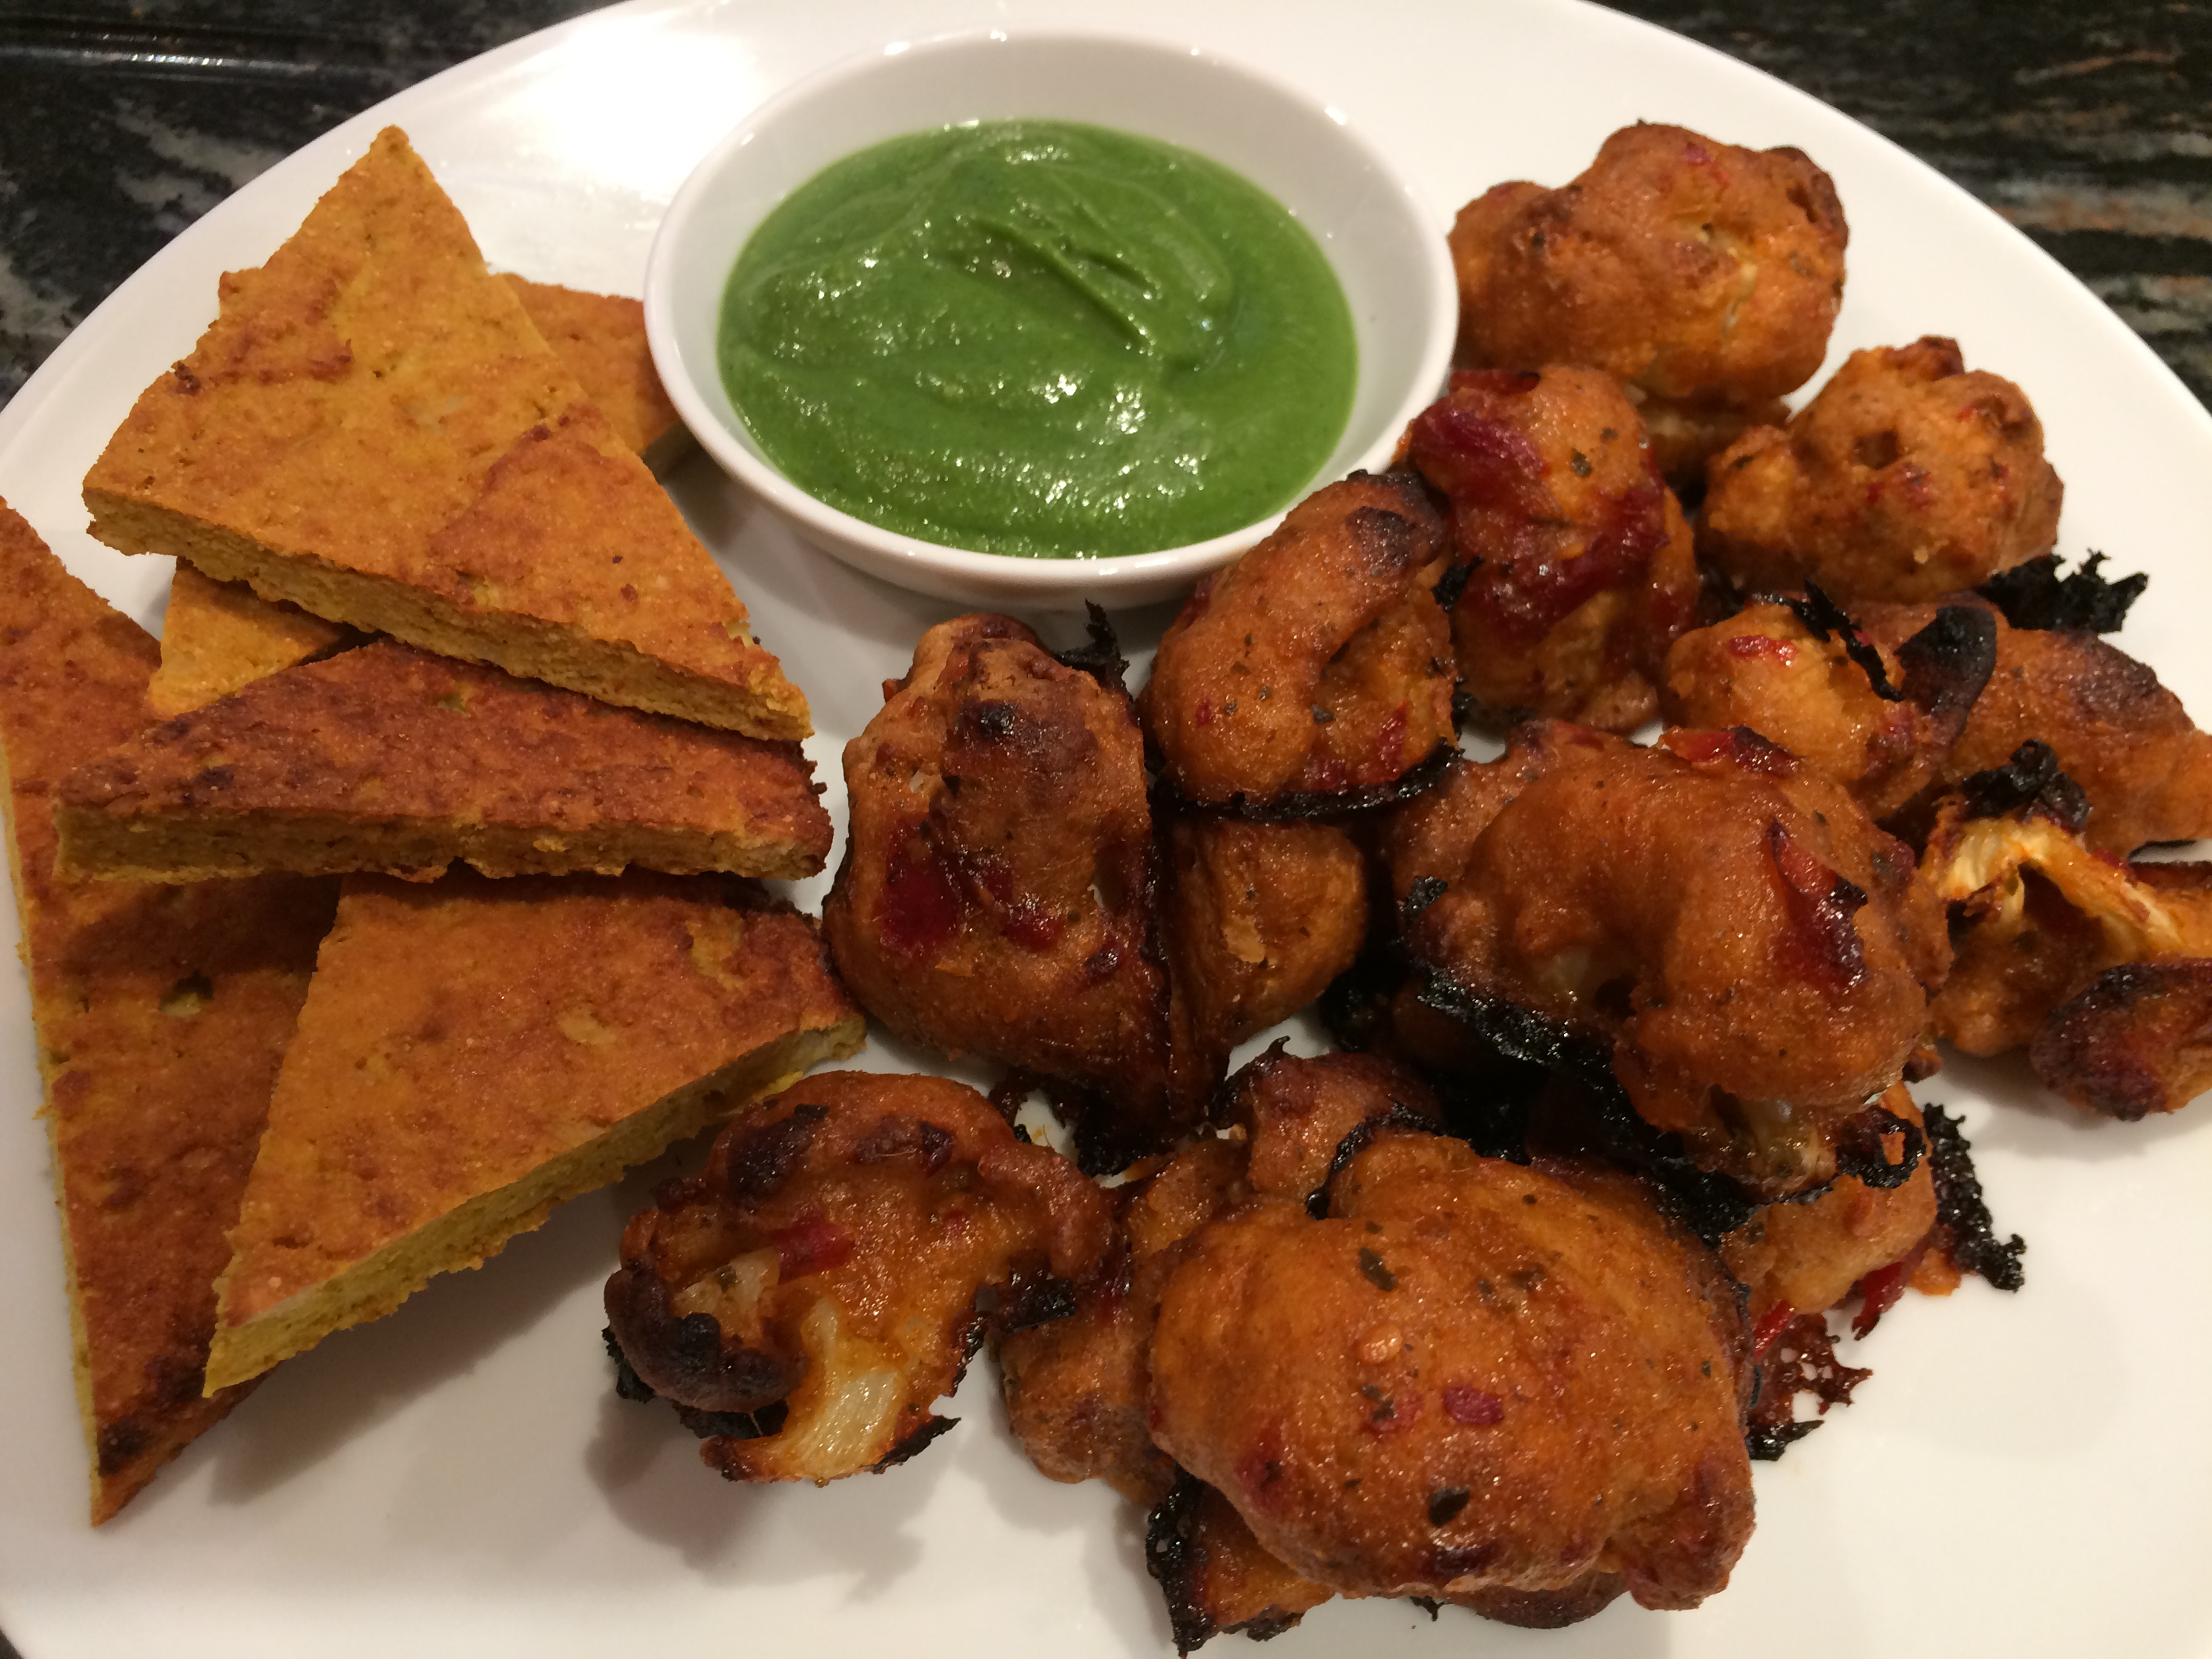
Serve as a delicious supper or leave the bowls out and let your guests help themselves and be amazed at the wonderful flavours.   The green “chutney” is more like a dipping sauce and is superbly tangy and compliments the cauliflower florets perfectly.  It is also great for dipping the flatbread into.

The batter, sauce and chutney could all be made in advance so all you need to do is dip the cauliflower florets and cook them (twice).

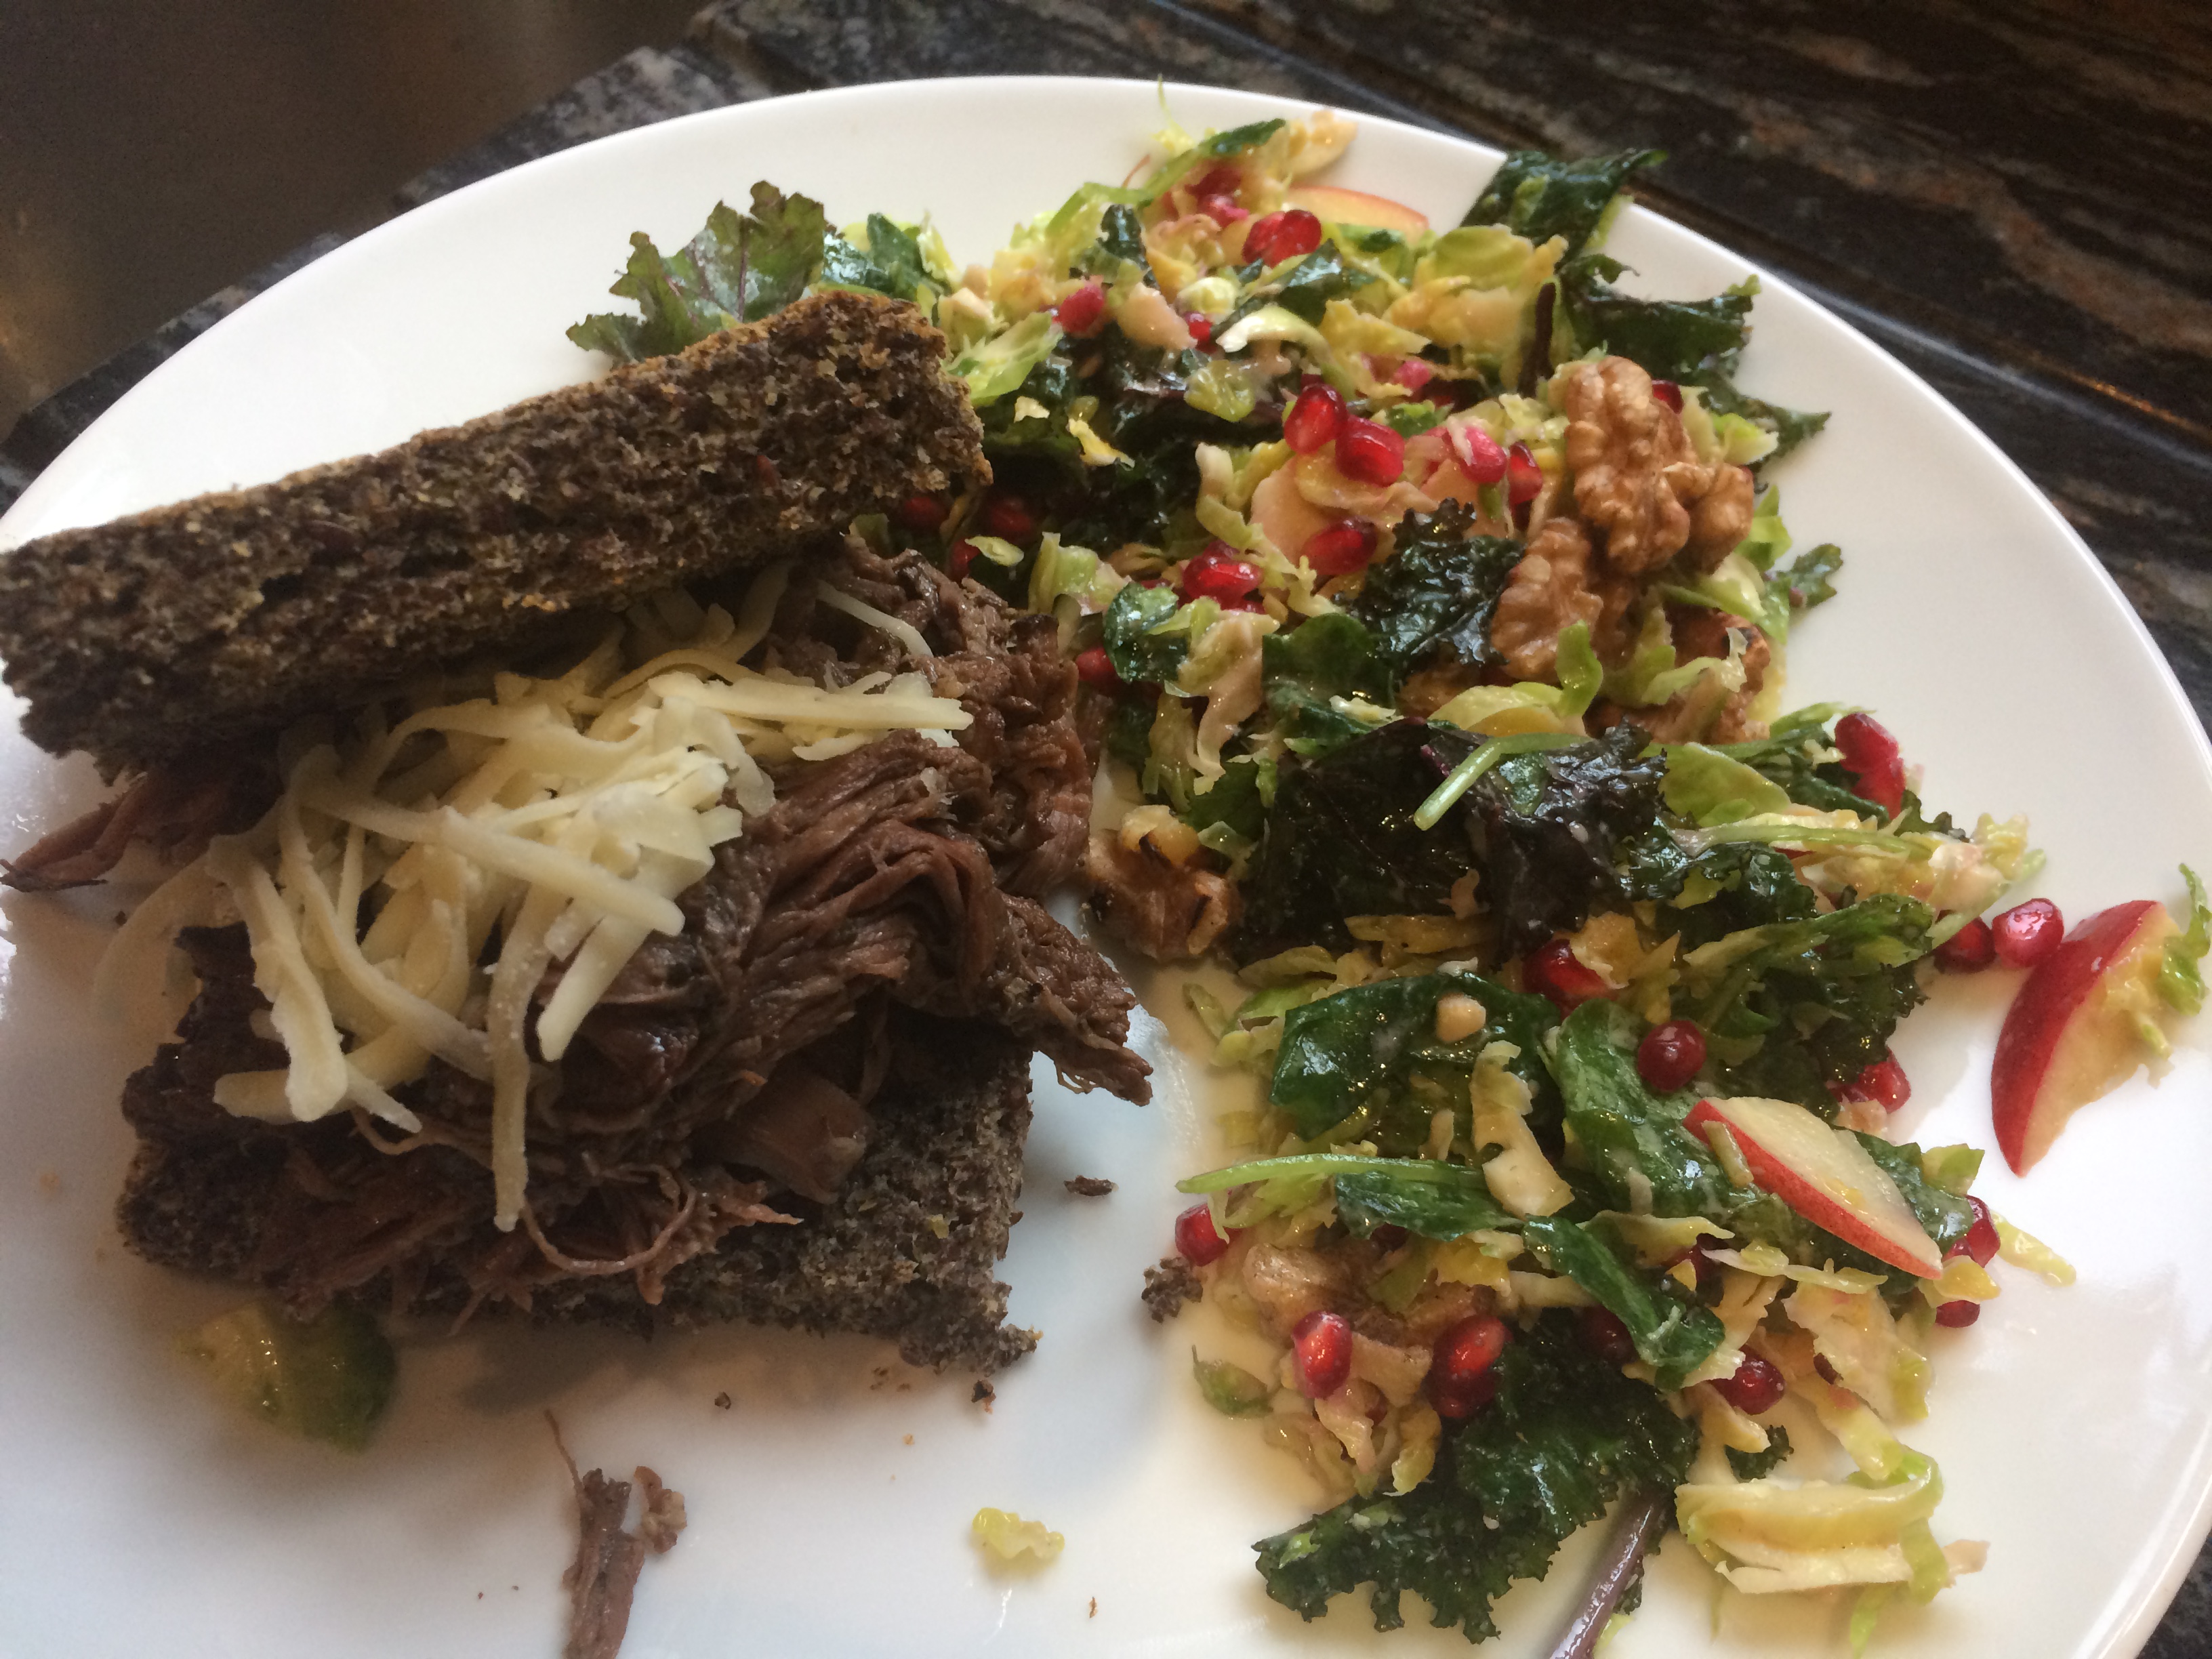
I had some Cauliflower Turmeric Flatbread left-over from the previous evening and it really teamed up well with this dish – not too cauliflowery at all.

INGREDIENTS: Serves 4 – 6

Batter:
¾ cup (120g) brown rice flour
Pinch of Sea salt
½ teaspoon curry powder
2 teaspoons tandoori masala spice*
½ cup unsweetened almond milk
6 to 8 tablespoons water

Cauliflower:
1 head of cauliflower, large stalks removed and cut into florets

Sauce:
¼ cup (80g) red curry paste (Thai)
2 teaspoons melted coconut oil
2 – 3 teaspoons maple syrup (to taste)
Water to thin (2 – 3 tablespoons)

To Serve:
Green Chutney Dipping Sauce*
Cauliflower Turmeric Flatbread

METHOD:

Preheat oven to 450°F and line two baking sheets with parchment.

Prepare the batter – mix dry ingredients together then add the almond milk and 6 tablespoons of water to start.   Whisk until well combined.   Add enough water for the batter to be thick, but pourable so that it can stick to the cauliflower, but not too runny.

Coat the cauliflower florets in the batter and place at least 1” apart on the baking trays.
Bake for 25 minutes.

Prepare the sauce – whisk together curry powder, coconut oil, and maple syrup. Add just a little bit of water to thin so it resembles a glaze consistency.

2016-10-25_17-37-47_734

Ready for second cooking

Once the cauliflower in batter has cooked, remove from the oven and dip them in the glaze.  Tongs are useful here.

Shake off the excess glaze and replace the florets on the parchment and bake for a further 20 minutes or until browned on the edges and the glaze has caramelized.

Allow to cool slightly before serving.   These Cauliflower “Wings” are best when fresh but could be frozen at the glazed stage and then reheated until warmed through.

2016-10-25_18-03-43_432

Spicy Red Curry Cauliflower “Wings” served with Green Chutney and Cauliflower Turmeric Flatbread

*Green Chutney Dipping Sauce:
1 bunch coriander (stems mostly removed)
3 cloves garlic
Sea salt and black pepper to taste
1 large lime, juiced
1 tablespoon maple syrup
1 – 2 tablespoons water (to thin)
1 – 2 tablespoons ripe avocado for extra creaminess (optional)
Add all ingredients to a blender (Nutribullet or similar) and blitz until blended and creamy. Chill until needed.

*Tandoori Masala Spice Blend – combine 3 tablespoons ground cumin, 2 tablespoons garlic powder, 2 tablespoons smoked paprika, 3 teaspoons ground ginger, 2 teaspoons ground coriander, 2 teaspoons ground cardamom.  Store in an airtight container and use as needed.

Recipe adapted from Minimalistbaker.com

NB:  All photographs used in this blog have been taken by me, and are of food I have prepared and served myself.

Posted in Dinner, Miscellany, Vegetables, Vegetarian | Tagged , , , , , , , , , , , , , , , | Leave a comment

Lemon, Coconut and Chia Seed Biscuits

Who doesn’t love a biscuit (or two) occasionally.   These Lemon, Coconut and Chia Seed biscuits are a very tasty item to find in the biscuit tin and are quite simple to make.

The chia seeds give a delicious little ‘crunch’ and the lemon flavour really comes through making them quite the perfect addition to a cup of coffee or pot of tea.

I creamed my butter and sugar in a Nutribullet and then added the juice, extract and eggs blitzing very quickly before pouring on to the dry ingredients.  Worked well.

INGREDIENTS:

150g almond flour, plus extra for dusting
50g coconut flour
½ teaspoon baking powder (gluten-free)
2 tablespoons chia seeds
Pinch of sea salt
100g coconut butter
100g coconut palm sugar
Zest and juice of 1 lemon
1 teaspoon vanilla extract
2 free-range eggs

METHOD:

Preheat the oven to 160°C.

Lightly grease two baking sheets with coconut oil.

Mix the almond flour, coconut flour, baking powder, chia seeds and sea salt together in a large bowl.

In a blender, mix the coconut butter and coconut sugar together until creamed (not crumbly). Add the lemon zest and juice and the vanilla extract. Mix in the eggs gradually.

Fold the wet mixture into the dry flours until combined, being careful to not over-mix it.

Roll the biscuit dough out on a lightly floured surface, to about 5mm thick. Cut out approximately 25 – 30 circles, re-rolling the dough as necessary.

Put the biscuits on the baking sheets and bake for 10 to 12 minutes until golden brown and crisp around the edges.

Remove from the oven and leave to cool completely before storing in an airtight container.

2016-10-26_16-49-42_084

Lemon, Coconut and Chia Seed Biscuits

Adapted from the recipe in Amelia Freer’s book Cook, Nourish, Glow

Makes approximately 25 to 30 biscuits.

NB:  All photographs used in this blog have been taken by me, and are of food I have prepared and served myself.


Posted in Sweets and Treats | Tagged , , , , , , , , | Leave a comment